
Do you have a favorite belt? That piece of leather and buckle that is worn, soft, and molded perfectly to your body? Me too. I had it for 10 years. It was falling apart for 3 of those years. I bought it curved. Ladies, you know what I’m talking about. The curved belt means that you never have the flap at the back of your pants that lets everyone see your crack! It was amazing. I got it at Gap and they nor anyone else ever carried it again. What to do, what to do? Finally I decided to make my own! Duh.
I quickly found out from the leathersmith that cutting it out curved would be $300+. No fricken way. So I visited a leather supplier in town (who even knew they had those??) and they suggested that I buy a raw leather belt, soak it in water, and curve it myself. Then I could dye it and add whatever buckle I wanted. Sweet! So I bought two lengths of leather (if I’m going to do it I might as well do two) and two sets of dye (brown and black). The guy there was super cool and he let me use all the tools in the shop to punch holes and cut them to the right length.
Then brought them home and started the very long and involved process of curving, dying, and finally installing the buckle.
 < First I cut all the holes and shaved down the area that would fold around the buckle so it wouldn’t be fat and catch on my pants. Yes that bandaid is from that Exacto.
 < Then I soaked the belt and let it dry around the upper part of a fitness ball. This gave it the curve. After it dried the side walls of the belt were also curved from the ball. I rewet it and laid it flat on the floor. I kept the curve but flattened the sidewalls by letting it dry with heavy books on top of it. You can rewet and remold as many time as you want!
 ^ Then began the dying process. I had to remove the buckle again for a blank canvas. Then I left the belts on our coffee table for several weeks and just applied a coat of dye once every few nights. I stopped when it wouldn’t soak up anymore. Once the color was done. I started on the matte top coat.
 < The state of our coffee table for a month. Then I mounted the buckle. Took it back to the shop for a final trim of length and …
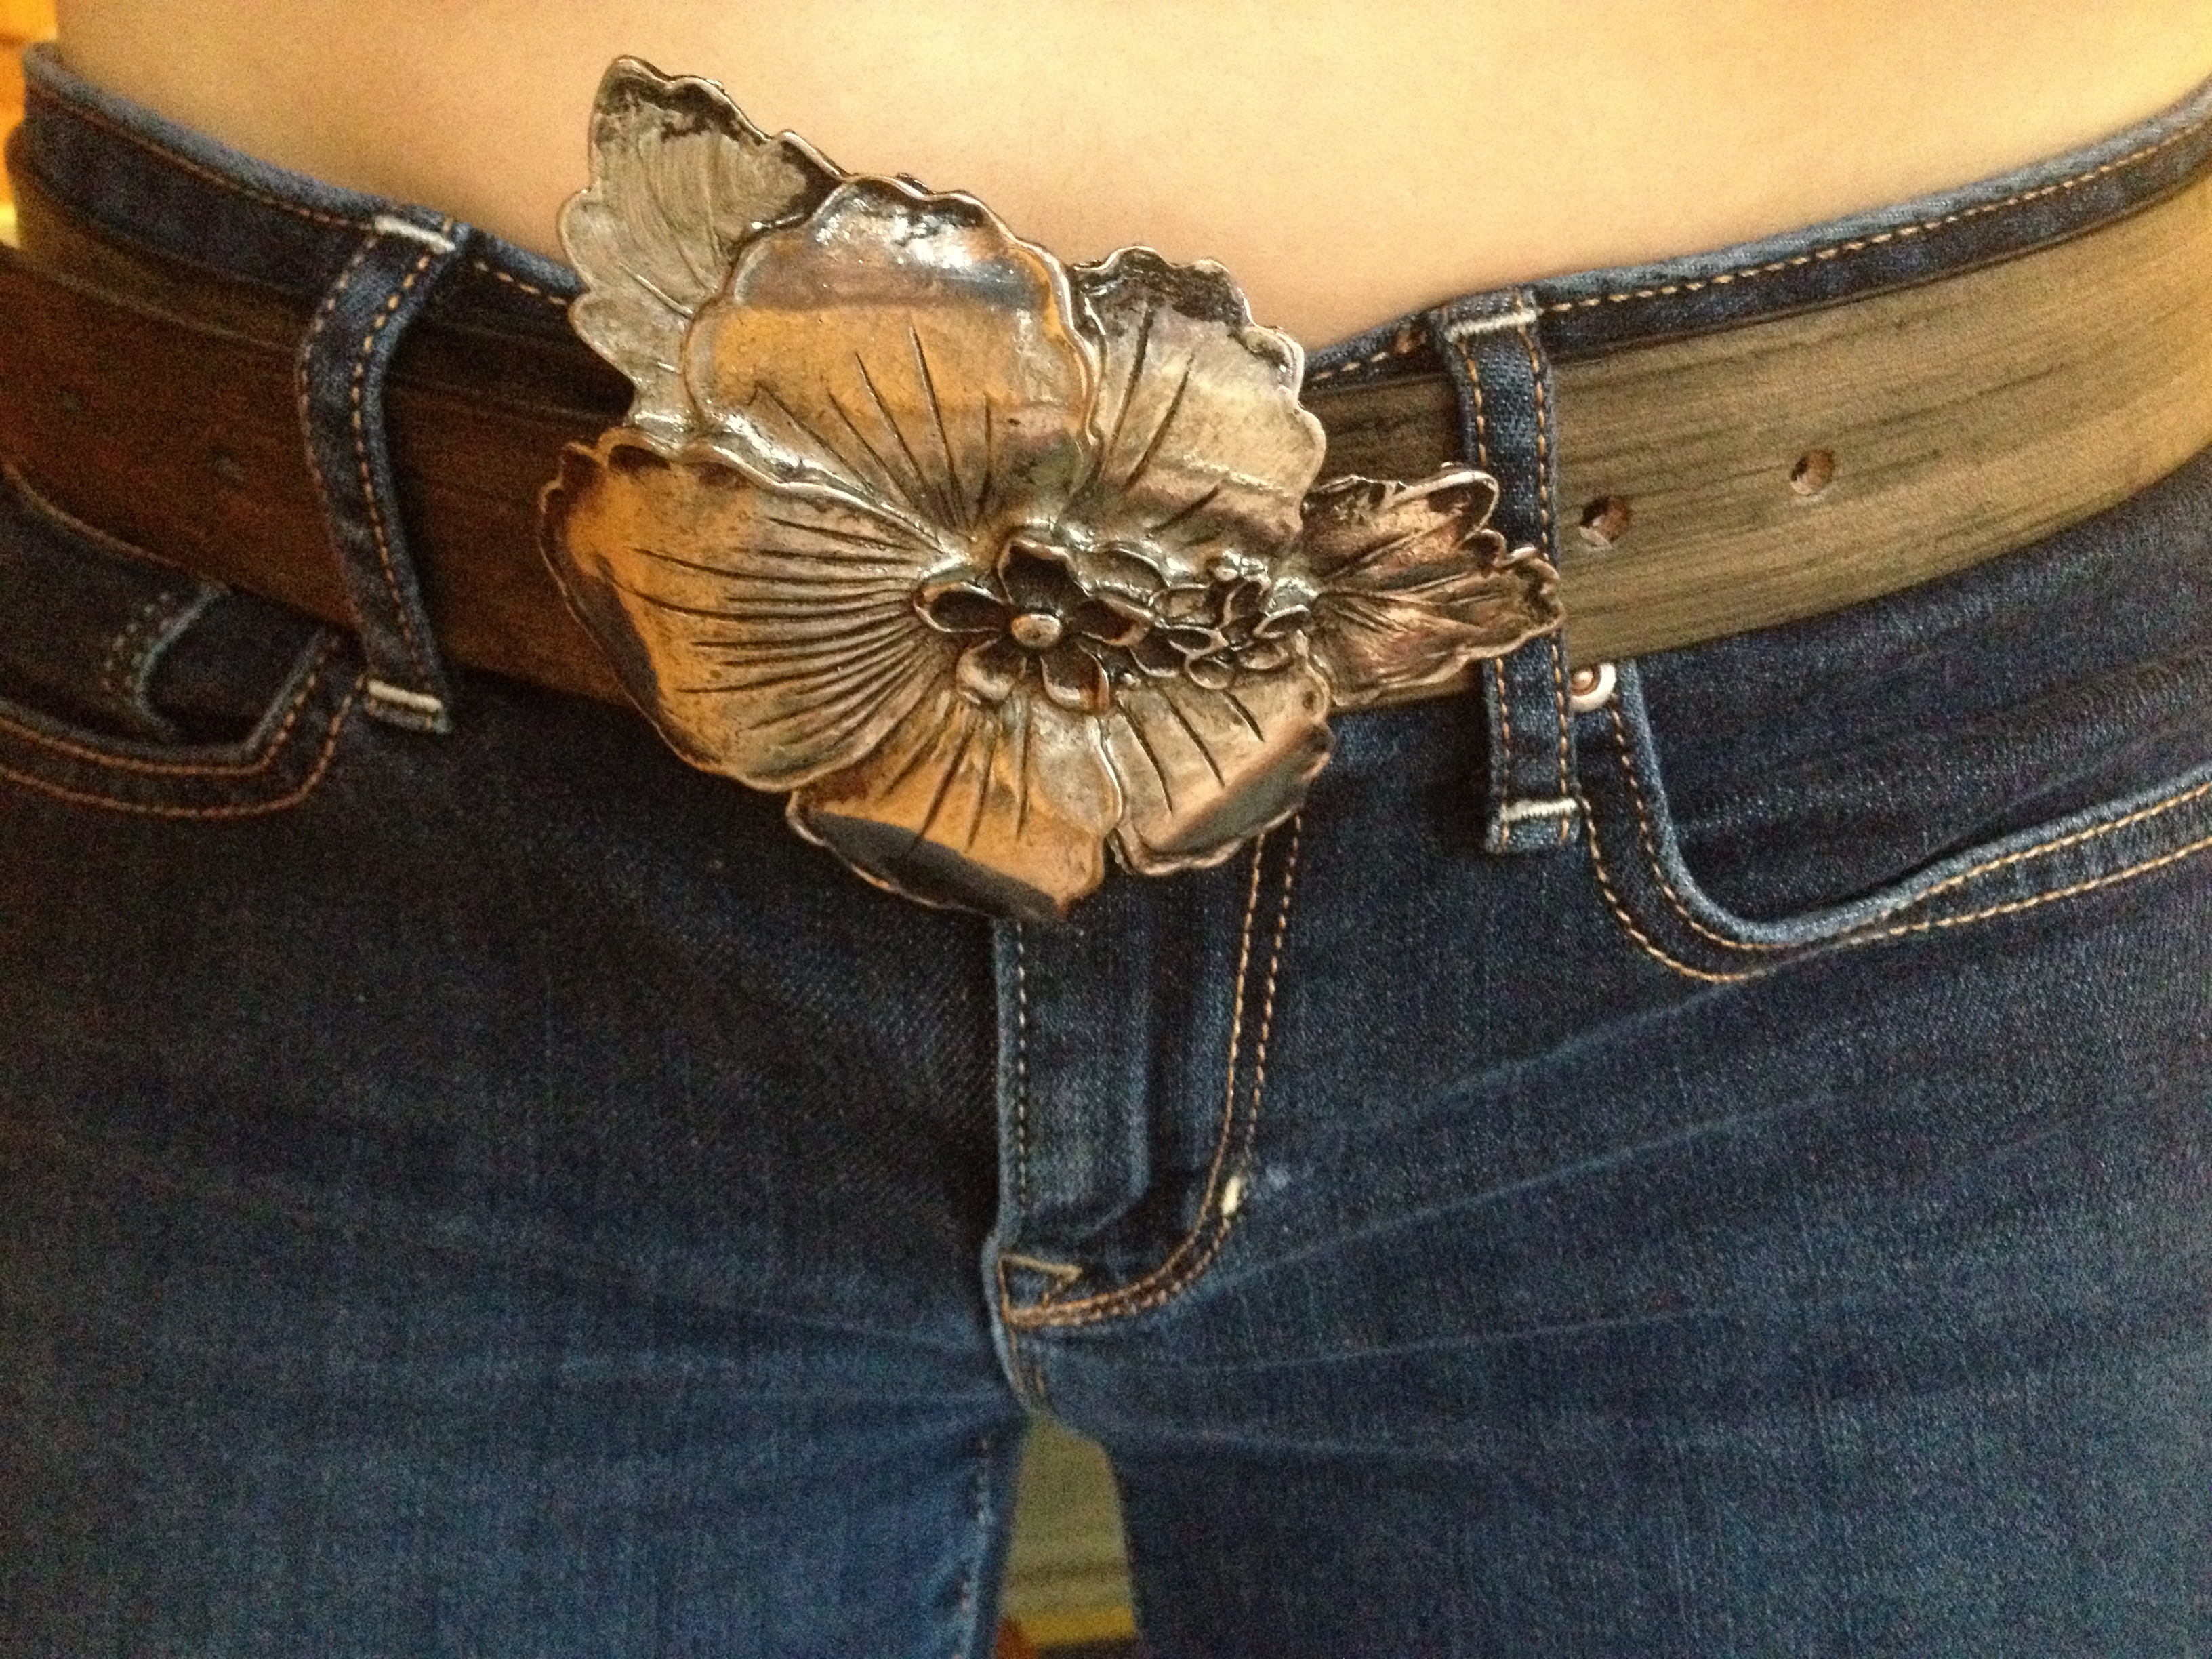 Voila! This belt buckle was repurposed from a belt I got in Spain when I was 13. The leather was falling apart so I just cut it off and put it on my new one!
 ^ After only a few times wearing it, this one is showing some usage. I love it!
 < And no matter how hard you look, you can’t see my crack!
I loved this whole process. It was so cool to see it transform into something pretty. And it was SO easy! Now I’m thinking of bigger and better things. I do love my leather purses…
I hope you all have adventurous weekends 🙂

Ashley, that was awesome! thanks for sharing! btw, my 22 yr old grandaughter flew out today for Spain for her last semester at Bradley. she is so nervous, but I hope and pray she’ll love every bit of her five months there.
oops, forgot to sign the last post….love ya, Carolyn
Spain! So awesome. It’s absolutely wonderful there. What part? I’m sure she will be just fine and have a blast.
Holy CRAP! You are officially my idol! Who the hell just goes out and makes there own (amazingly beautiful) belt when they can’t find exactly what they’re looking for at the store?! I LOVE IT!
Thanks Jess! Glad you like it 🙂
Whattt this is so awesome! i really need a belt, but there is no way I could do this haha. You are so crafty!
Pingback: Friday by Design: Gold Dipped Milk Jug | A Happy Lass