Tag Archives: Crafts

DIY Friday: Meal Planning Board

So you’re trying to eat healthy? I bet you have tons of people in the wellness community telling you “it’s really not that expensive!” Well they are wrong. Eating healthy can be VERY expensive. To keep the cost manageable you have to do a lot of planning. You have you cook most of your own food and you can’t have any food waste. Unless you plan, IT IS time-consuming and expensive.

Mike and I have been gradually increasing our health factor over the last several months while trying to keep costs low. We have set up a system where, whenever either of us buys food, we put the receipt on the coffee table for the other to review. It holds us accountable and makes us analyze where money could be better spent.

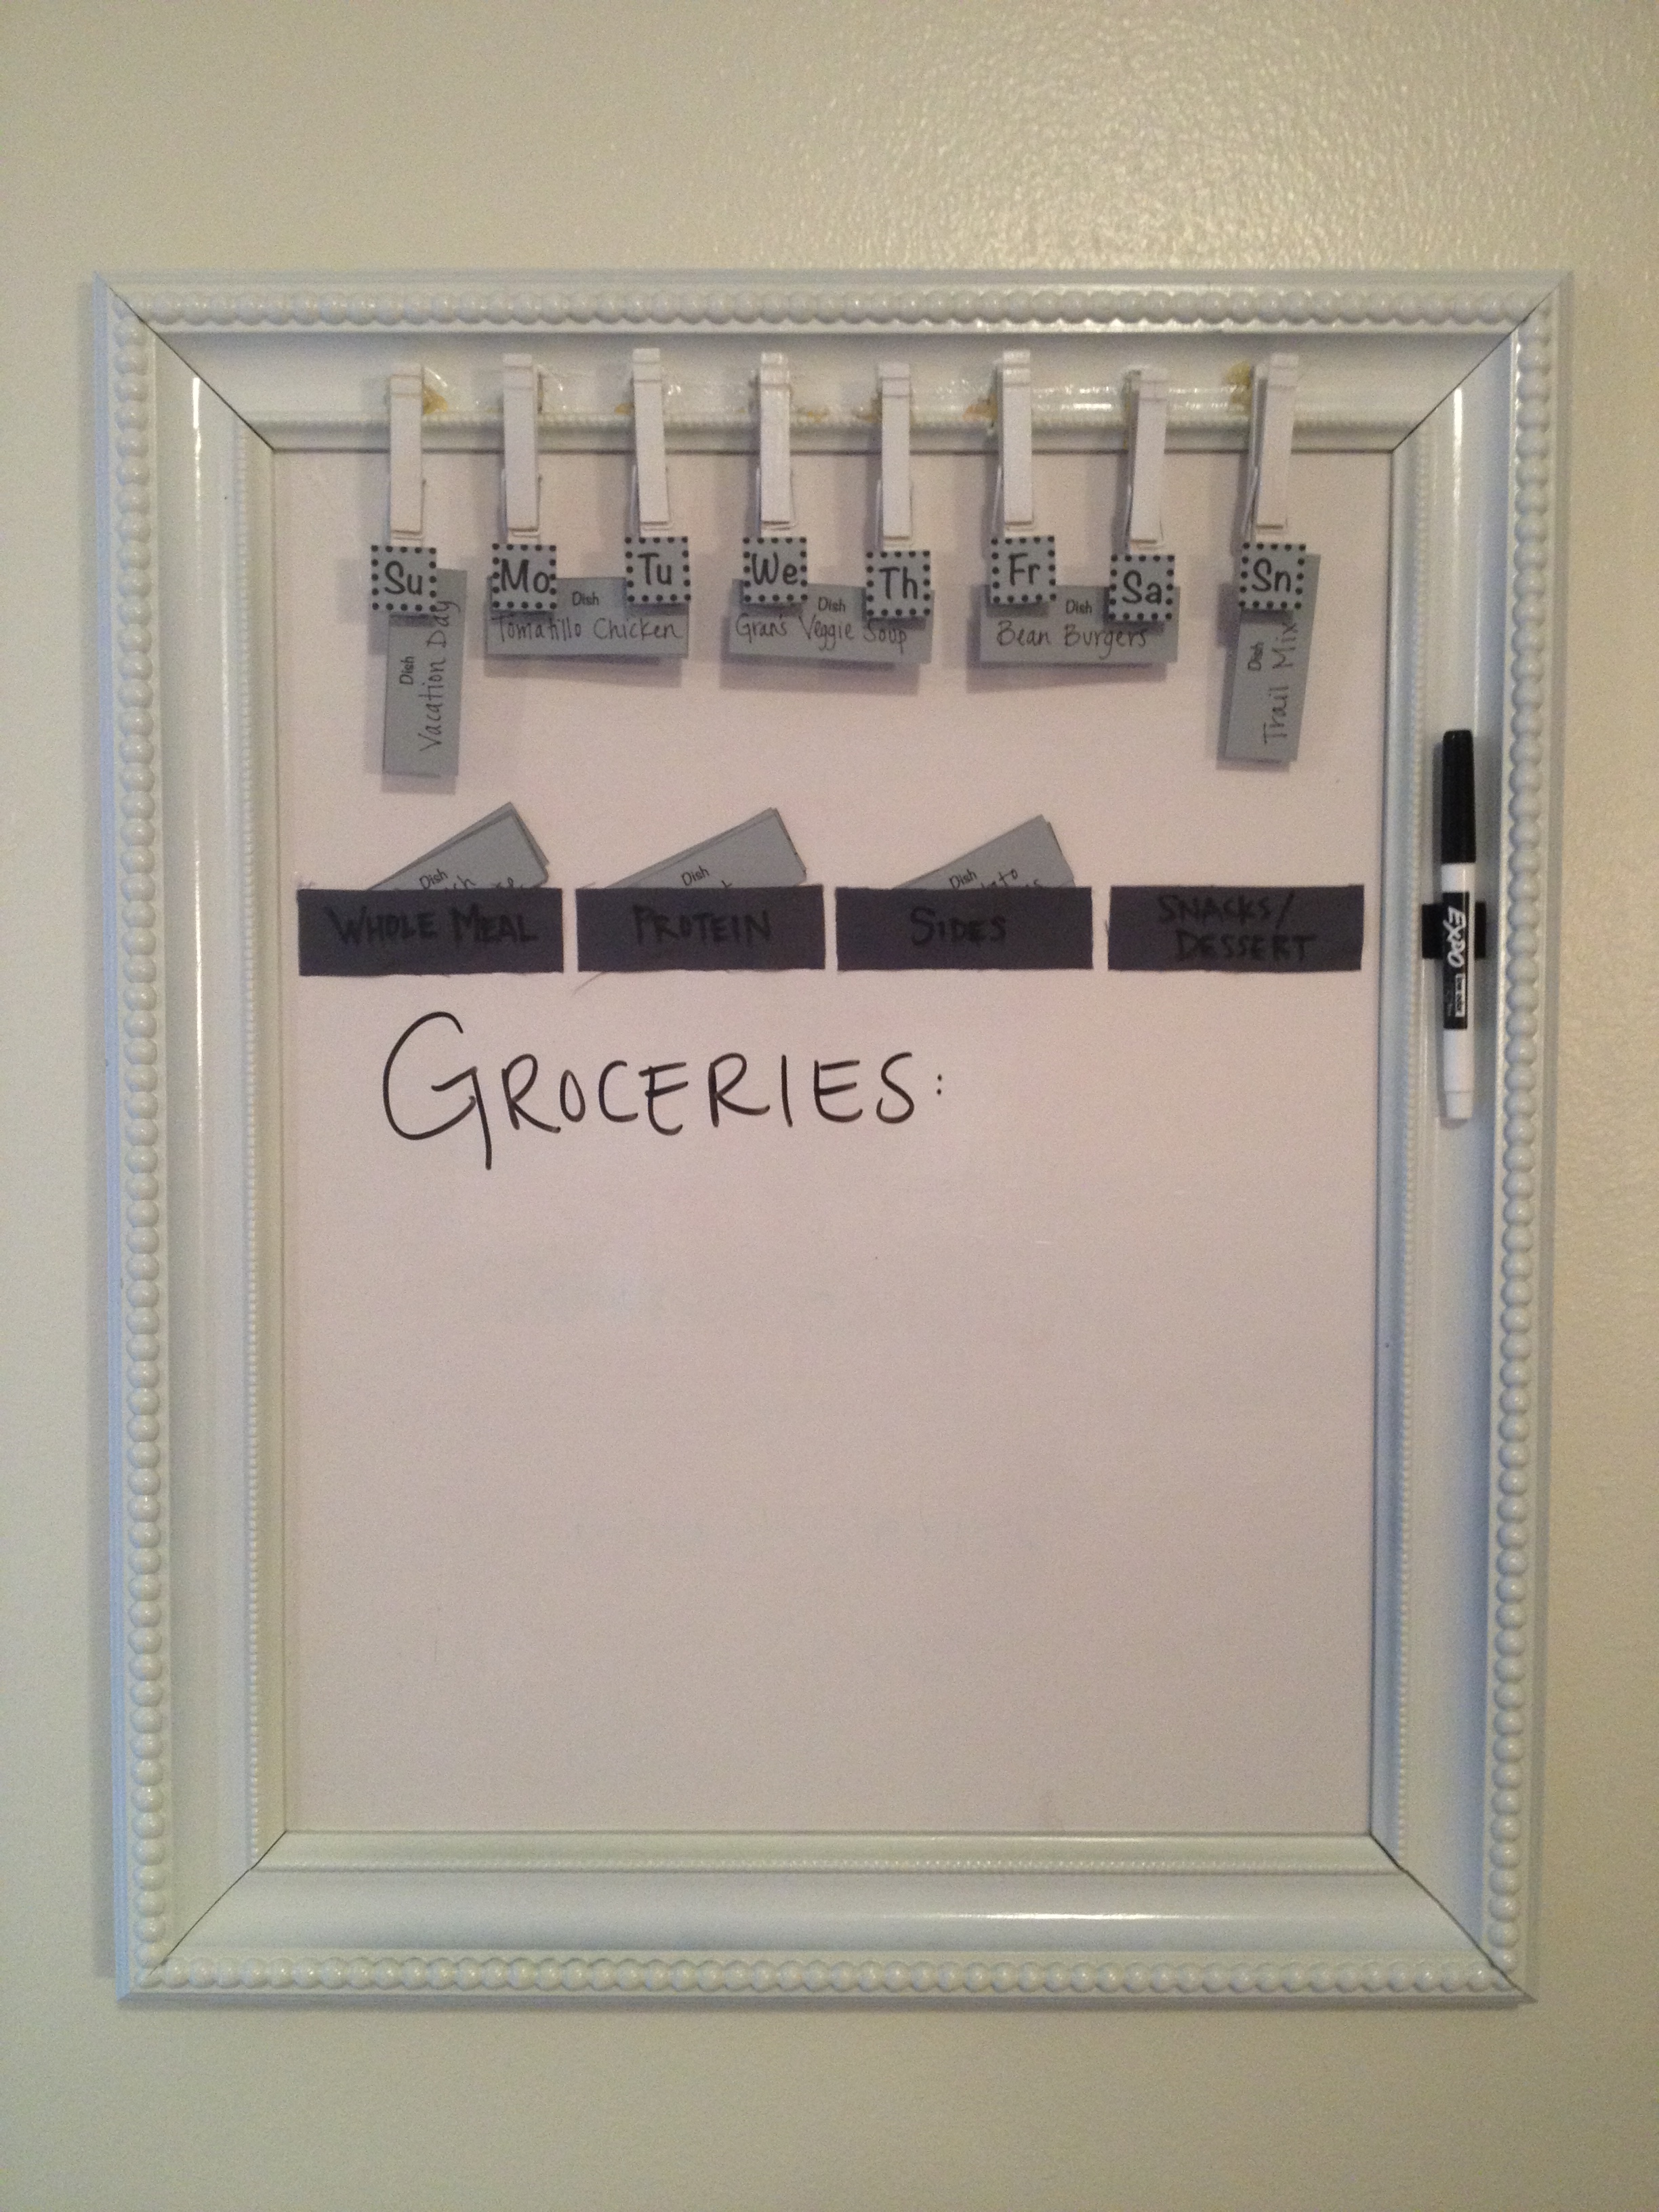
Then I meal plan. I’m very organized and love to plan ahead so this isn’t too hard for me but I was lacking the necessary tools. That’s why I made this bad boy. My meal planning board.

photo 1 copy


My dinner system:

  • Cook double-portions every other day. This means only cooking from scratch 3 times a week! I cook half the meal only partially so it’s not overcooked when I reheat it for dinner the next day.
  • Eat leftovers on the days I don’t cook.
  • Have our “vacation meal” on the seventh day.

It’s quick and means that I can buy more in bulk. Our breakfast is the same every morning (Grainless Granola) and each of us takes care of our lunch separately. It’s a pretty nifty system but I was getting really confused about which meals I was going to cook and which food I needed on my weekly grocery shop.

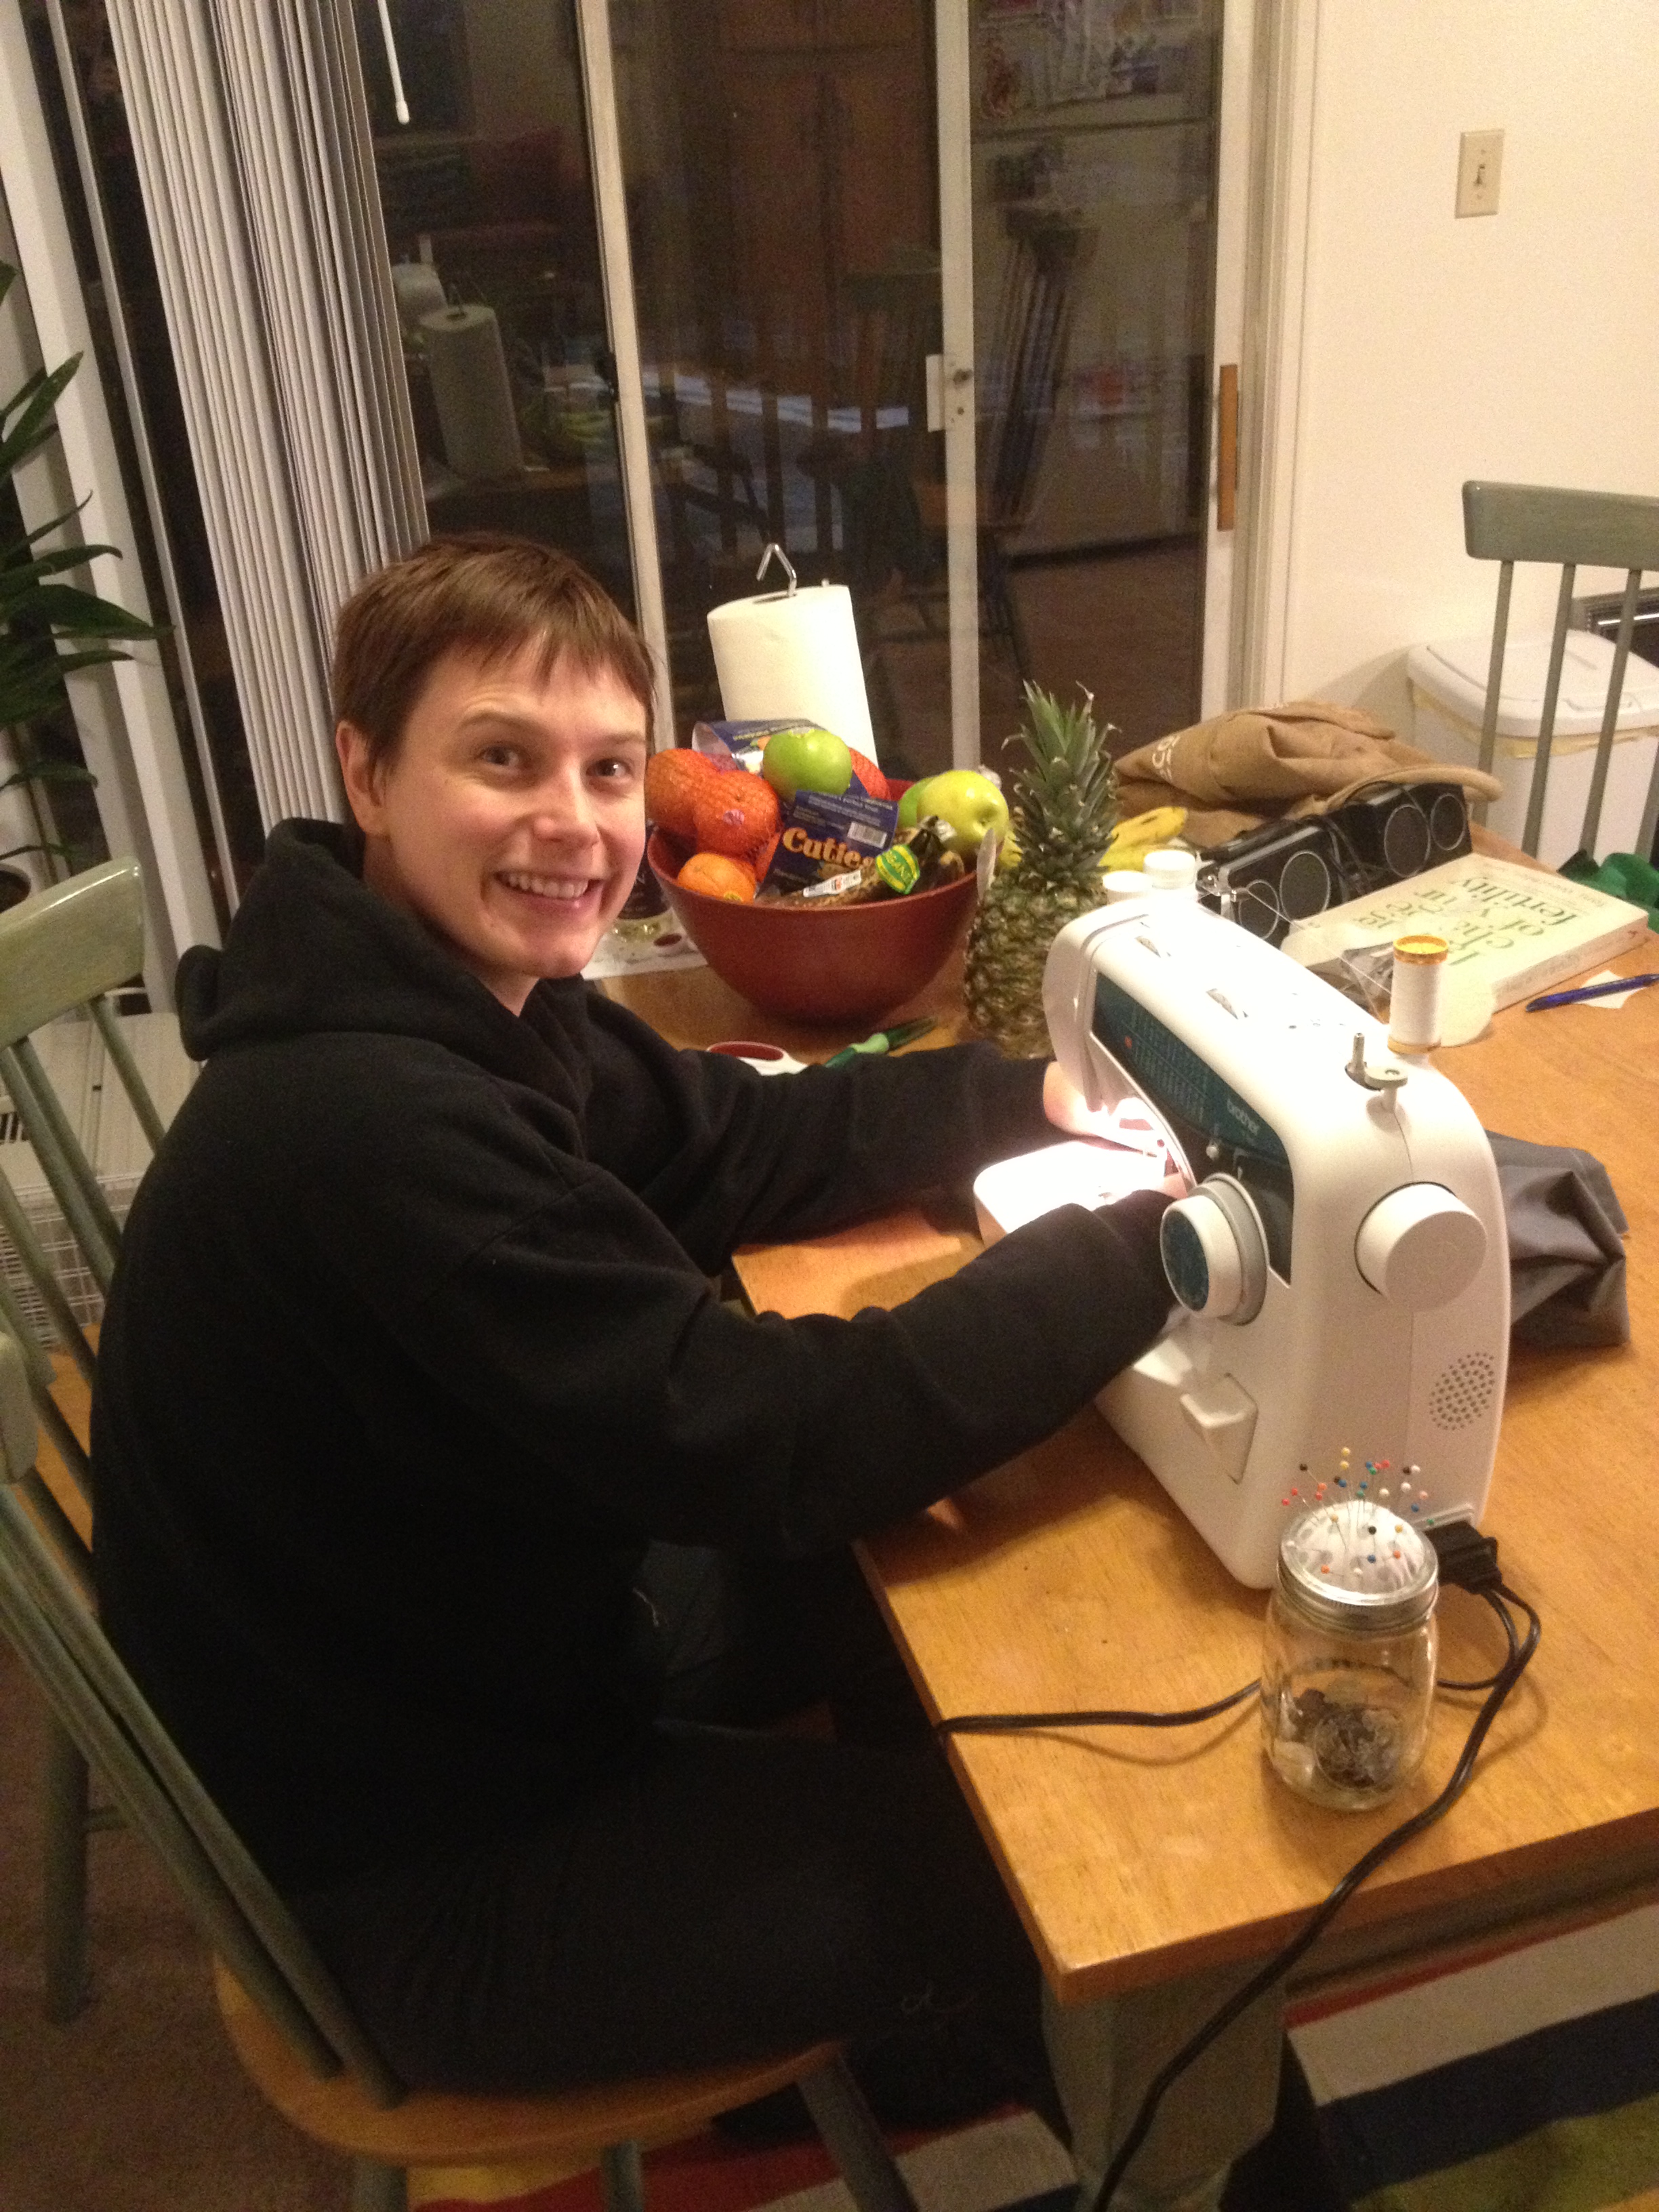
So during our Simple Sunday this past weekend, the weather was nice enough to paint out on the porch. I finally did my Meal Planning board and I love it!

Supplies:

  • Pretty frame (mine was $5 at Goodwill)
  • Spray paint (for color)
  • Spray paint (for chalk or whiteboard coating)
  • clothespins
  • some cardstock to label the pins
  • fabric to hold the labels
  • hot glue gun
  • a little sandpaper to prep the frame glass
  • painters tape (if you want to do a pattern)
  • an old sheet to protect your floor

Instructions:

photo 2^ Make sure you have a surface to stick the pins to. This frame had lots of dips in it so I blocked it out with some chips of cardboard I had in the recycling bin.

photo 3^ Separate the frame and glass. Sand the glass so it will hold the paint. Spray down all pieces with however many coats they need. *I started with chalkboard paint but it didn’t work all that well. I went back and exchanged it for whiteboard paint and repainted the glass.

photo 4< If you want to paint a pattern, wait until the base layer is dry and then tape it off and spray. *I originally had yellow stripes in mine but it was just too much with the raised dots AND baby yellow. After I finished it I went back and repainted it all white.

Stick the clothespins down with hot glue. If that doesn’t hold, graduate to the messier but much stronger Gorilla Glue.

photo 2 copy^ Cut out your cardstock. And write out any of your favorite dishes. Hot glue your fabric pockets to store them in. Then label the pins with the same cardstock. Mine are for each day of the week and then Snacks to take to work for that week. Here’s the template I made for my labels:  MealBoardLabels

Another idea, for complicated meals, write the ingredients on the back of the card so you don’t have to look back to the cook book every time.

photo 1 copy

And now you have a meal planning board! I’ve only been using mine for a week and I already love it. It takes the strain out of meal planning and makes cooking SO much easier. I will say it looks a little sad and bland with all the white and gray but I’m hoping I can paint the walls our next kitchen so it will just be a pretty accent on a sunny yellow wall. 🙂

Let me know if you have any questions. And HAPPY FRIDAY! Love and a toothy smile. – Ash


DIY Monday: Happy Couch Pillows :)

Happy Monday Ya’ll! I am so happy January is over. That was a tough month for me. It’s always kind of shaky getting back on your feet after the holidays. Combine that with some harsh weather and you get a very sad, cooped up kind of life. But only for January! And now it’s February and spring is a whole month closer!

So this weekend I got Saturday off at the very last minute and I got TWO whole days off in a row. Woohoo! I took complete advantage of it by snuggling in for some terrible TV for pretty much the whole two days. I also decided it was time to break out the new sewing machine I got from my parents for Christmas.

It is unbelievably cool. They’ve invented so much neat stuff since the last time I sewed (about 10 years ago?) So I got the requisite pant and shirt sleeve hemming out of the way. And then I began on our new couch pillows!

photo 3

photo 5 photo 4

Some old (18″x18″) pillows from Goodwill, simple cotton fabric, and about two hours of machine time and I had these babies! I took a lot of inspiration from Pinterest but I needed to make some that wasn’t too girly (in consideration for the man I share a house with) but was also kinda funky and cute. I love them.

I used this awesome guide for fold over pillows.

TIME: 2 hours sewing time

COST: about $10 each

LEVEL: beginner – pillows are SO easy. The hardest part was sewing in circles for the eyes.

photo 2

What do you think?

Happy February! 🙂

Friday Design: Make Your Own (Awesome) Belt!

Do you have a favorite belt? That piece of leather and buckle that is worn, soft, and molded perfectly to your body? Me too. I had it for 10 years. It was falling apart for 3 of those years. I bought it curved. Ladies, you know what I’m talking about. The curved belt means that you never have the flap at the back of your pants that lets everyone see your crack! It was amazing. I got it at Gap and they nor anyone else ever carried it again. What to do, what to do? Finally I decided to make my own! Duh.

I quickly found out from the leathersmith that cutting it out curved would be $300+. No fricken way. So I visited a leather supplier in town (who even knew they had those??) and they suggested that I buy a raw leather belt, soak it in water, and curve it myself. Then I could dye it and add whatever buckle I wanted. Sweet! So I bought two lengths of leather (if I’m going to do it I might as well do two) and two sets of dye (brown and black). The guy there was super cool and he let me use all the tools in the shop to punch holes and cut them to the right length.

Then brought them home and started the very long and involved process of curving, dying, and finally installing the buckle.

photo 1< First I cut all the holes and shaved down the area that would fold around the buckle so it wouldn’t be fat and catch on my pants. Yes that bandaid is from that Exacto.

photo 2< Then I soaked the belt and let it dry around the upper part of a fitness ball. This gave it the curve. After it dried the side walls of the belt were also curved from the ball. I rewet it and laid it flat on the floor. I kept the curve but flattened the sidewalls by letting it dry with heavy books on top of it. You can rewet and remold as many time as you want!

photo 3^ Then began the dying process. I had to remove the buckle again for a blank canvas. Then I left the belts on our coffee table for several weeks and just applied a coat of dye once every few nights. I stopped when it wouldn’t soak up anymore. Once the color was done. I started on the matte top coat.

photo 4< The state of our coffee table for a month. Then I mounted the buckle. Took it back to the shop for a final trim of length and …

photo 1 copy Voila! This belt buckle was repurposed from a belt I got in Spain when I was 13. The leather was falling apart so I just cut it off and put it on my new one!

photo 2 copy ^ After only a few times wearing it, this one is showing some usage. I love it!

photo 3 copy< And no matter how hard you look, you can’t see my crack!

I loved this whole process. It was so cool to see it transform into something pretty. And it was SO easy! Now I’m thinking of bigger and better things. I do love my leather purses…

I hope you all have adventurous weekends 🙂

Friday Design: Christmas Cards and Snow!

I haven’t mentioned Christmas much in this here blog. That’s because everyone celebrates different holidays in different ways and I want to continue to deliver information for health no matter what the season. However, today I am just TOO excited! In fact, it’s 6 am. I’ve been awake for an hour. After 5 hours of sleep, I woke up and can’t force myself back to bed. Thank goodness for blogs! A few reasons I can’t sleep:

  1. The world didn’t end, so that’s cool.
  2. Mike and I leave for San Diego today.
  3. I get to see my family for the first time in 6 months!
  4. This will be Mike’s first time meeting my very rambunctious siblings and my wonderful Gran and Grandpa. Should be interesting.
  5. I haven’t packed yet and still have a full work day ahead of me.
  6. We had a blizzard in Peoria yesterday and the city is so beautifully coated with snow (see below). I am SO thankful, though, for the dedicated people that wake 5 hours before me to plow and shovel it all out of our way.

FirstSnow^ check out our back porch.

Ok so! This year I decided that I wanted to do some Christmas cards. Somehow I have managed to live my life in a such a way that a lot of my very closest friends and family are scattered all over the world. China, Britain, and every corner of the US. How do I tell them I love them without spending a fortune? Handmade Christmas cards!

ChristmasCard

These babies took me about an hour each. I made 13 of them. [I’m not sure these have reached everyone yet so if I love you and you haven’t gotten one yet, hold tight] Aside from the card, I also wanted to give them a gift. Something that everyone could use, something healthy, and something easy. Mulling spices! I made my own mulling spices, packaged them up, and put a satchel in every card.

I love these cards. I put a lot of heart and effort into making them. But JEEZ they took a long time. Also, they ended up being rather expensive to mail because they count as a “package” rather than a “letter.” Obviously my loved ones are worth it but they may be getting something a little less bulky next year.

Anyway, that’s my story for today. I’m completely exhausted but totally giddy. I get to see my family today!! I hope you all have wonderful weekends planned. Keep on smiling, they’re even more contagious this time of year 🙂