My life is turned a little bit upside down right now. The future is very uncertain and, as an anxious person with a planning mind, that does not bode well for me. Because I don’t have any idea what the future holds, I find myself kind of just floating around. I’ve stopped trying in everything because I don’t know which aspect of my life will send me in the direction I’m trying to go.
I have goals, big one and little ones. I’m doing pretty well with the little ones, just taking things day by day. But man, those big goals are eating away at me. How the heck do I find my path??
Anyway, I know this relates to quite a few of you when it comes to getting healthy, for life. Where do you start? You start right here. With something manageable. Something that doesn’t consume several hours of your day and makes you feel worlds better. So join me for the workout, take the baby step towards your bigger goal 🙂 I’ll let you know when I find my first baby step to my bigger goals.
And let me know if you have any questions!
Beginner through intermediate (12 minutes)
– 20 seconds on/ 20 seconds off
– each exercise 3 times in a row
Advanced (16 minutes)
– 30 seconds on/ 10 seconds off
– each exercise 4 times in a row
Exercises:

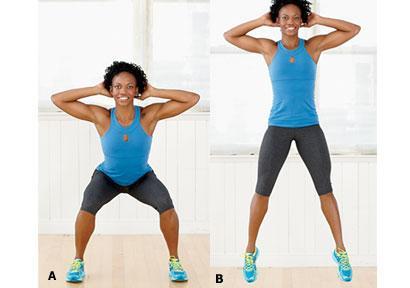
1. low jacks (beginner-side step with a your torso isolated at the same height)

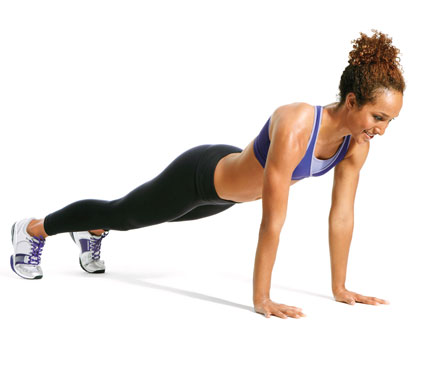
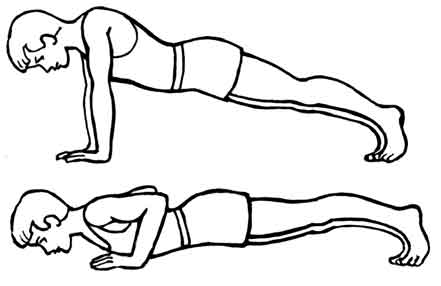
2. pike pushup (looks funny but it works!)

3. lunges (quickly, without or without weight)

4. mountain climbers

5. russian twist


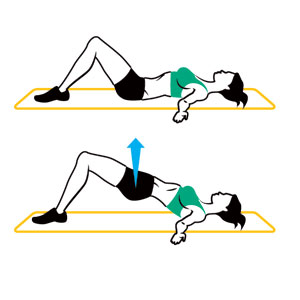
6. frog squats