Tag Archives: life

Happy Monday: Weird Love

Saturday was a VERY long day of work for me. Let’s just say I was surrounded by screaming kids in a room with lots of echo. For NINE hours. Teachers: how do you do it?? Anyway! It meant that Sunday involved a whole lot of nothing. Mike and I watched both NFL playoff games and some really terrible television (my favorite kind).

We also had some spare time to talk about our relationship. We do that every once in a while. Just dive into what we think we’re doing well or what is missing for one or both of us. Of course we talked about some stuff that has been a work in progress for the last several months. But we also talked about how close we feel to each other having had to adapt to in this foreign environment: small town in Midwestern USA.

Being here has only increased our love and respect for each other and confidence in our relationship. The way we are learning to work through our relationship and personal problems is pretty awesome.

On that note, Mike sent me this the other day and I think it’s wonderful. Maybe you will too!

WeirdLove


I hope that wherever the love comes from in your life, that you’re getting a lot of it today. Happy Monday! 🙂


Friday DIY: Brazilian Wax (Ladies Only!)

Men (and conservative women), you are forewarned: this post contains A LOT of in depth lady jargon. It reveals the dark side of beauty. DO NOT READ THIS. STOP NOW.

If you’re still reading, be prepared. Now ladies, how many of you get waxed down there in your nether regions? How much does it cost you? $30, $40, maybe something like $80? First, let me explain why I wax:

  1. Shaving really sucks. I used to get terrible razor burn and razor stubble is just foul. I don’t want my VJ to feel like sandpaper.
  2. Waxing only needs to be done every 4 weeks, and once you’ve been doing it for several years, you can go as long as 8 weeks!
  3. It actually makes your hair follicles weaker and your hair thinner. I’m to the point where my hair has stopped growing in some spots. Awesome!

Yes, it hurts. But it’s so worth it. And because your hair follicles get weaker, the pain actually gets less the more you do it. One thing I should mention is that, once you start waxing, you should NEVER shave. It reverses all the long term benefits I mentioned above. If you shave once, it’s like starting from zero on the waxing scale.

When I moved from Boston to Peoria, the price of Brazilian waxing went from $40 to $80. WHAT?!? I’ve been searching for months for something cheaper to no avail. I did find a beauty school that did the simple bikini waxes (check out this post) but no one would take it all off without charging an arm and a leg. So I decided to do it myself.

Needless to say, I was VERY nervous. Who the heck takes the chance of buying their own wax, spreading it hot and sticky all over the very sensitive patch between their legs, and then ripping it off with their own two hands? I could be making a very big mistake. But I will say, I’d watched quite a few estheticians do it to me, might as well try and do it to myself right?

Moom

So I did my research on wax and found this great option on Amazon. Of course I had to go natural so I bought sugar wax. It’s water soluble and works great on thick and thin hair. It’s called Moom. It came with everything I needed to wax (except for the sweat-absorbing starch) including microwavable wax, reusable strips, and wooden applicator sticks. And the best part, it was only $14!

photo 1

So it arrived and I stared at it on my dresser for several weeks before I plucked up the courage to try it. I set up my little station and went to work. The only things I needed that weren’t included were a towel to sit on, a mirror for when hunching over wasn’t enough, rubbing alcohol to disinfect, starch to soak up the moisture before I got started, and tweezers for post-wax clean up. Here’s how it goes:

  1. Use a cotton ball to spread rubbing alcohol over the region first.
  2. Dab some baby powder, corn starch, or any kind of starch (I used tapioca because that’s all I had) before you get started. It soaks up any moisture and the wax sticks better.
  3. Trim your hair down to 1/2″ (1cm) so the wax can pick up more of it.
  4. Heat up the wax until it’s a honey-like consistency.
  5. Analyze the direction your hair is growing in. Spread the wax in a thin layer in the same direction.
  6. Pull your skin taut and pull the strip off very fast in the opposite direction of hair growth.
  7. For a bit of relief, put pressure on the area immediately after you pull the strip off.
  8. Work methodically in sections so you don’t have to wax any area more than once.
  9. You won’t get every single hair so use the tweezers to snag stragglers.
  10. Rinse off any patches of wax with warm water. Dab dry then apply a light moisturizer to soothe the skin.

photo 2

I did feel a bit like a hunchback after 45 minutes of sitting in front of the mirror but it went really well! I didn’t rip off any skin and my happy triangle is smooth and clean. The tub of wax isn’t even 1/3 gone and I rinsed the strips clean with hot water and can use them again next time. It was a MUCH better experience than I anticipated and I’m so stoked that I found a cheap alternative to salons.

Who wants to try it? Ask me any questions, I’m happy to answer. I hope you all have very wonderful, very sexy weekends 😉

Workout Wednesday: Lofty But Attainable Goals

Do you have a weight loss goal right now? Most people, especially in this season, want to get more fit. What’s your goal? At work we are doing a 30 day weight loss challenge. Last night we did the first weigh-ins. For four weeks we challenge everyone to eat right at least six days a week and exercise at least three days a week. So I challenge you, if you have a goal, do the same thing!

If your goal is fat loss, get naked and get on the scale. If your goal is more lean muscle, find a flexible tape measure or piece of string and measure around the largest part of your stomach, arm, and leg. Then record the numbers. Somewhere that you won’t lose or forget.

Then start the baby steps. Plan your meals and your workouts. Don’t give yourself an option to deviate. Workout in the mornings before you start your day, and remove all sugary, bad-fatty foods from your house. No temptations. Don’t go out to eat if you can’t resist the hamburger and fries. It’s only four weeks! Challenge yourself. Be proud of every day you can get through in a completely healthy way. I think a person’s success is defined by the ambition of the commitments they can keep. So make your goal lofty but reachable, and then go get it!

measuring

I’ve been slacking off for the past 6 weeks. With the holidays and everything, it’s time for me to get back into it and start some serious training. Bike season is coming up! So I’m going to join the Challenge. But for me, it’s going to be a lean muscle challenge. So I used a tape measure and piece of rope. My measurements are: 32.5″ (stomach), 12″ (right arm), 24.5″ (right leg). I’ll let you know how I’m looking in 4 weeks!

Finally, here’s today’s workout:

Beginner through intermediate (12 minutes)

– 20 seconds on/ 20 seconds off

– each exercise 3 times in a row

Advanced (16 minutes)

– 30 seconds on/ 10 seconds off

– each exercise 4 times in a row

Exercises:

High Knees

1) high knees – speed is most important with this one.

plank(better)

2) X plank – start in straight plank…if you can, jump out your legs then step out your arms to form an “X”, move them all back in and start again. Don’t forget to keep your body straight as a plank!

jumplunge

3) jump lunges – align your joints ALWAYS, shoulders over hips, front knee over toes.

crunches

4) crunches – look at the ceiling and lift your shoulders. DO NOT pull on your neck.

calfjump

5) calf jumps – fluid jumping, very little bend in the knee. like you’re at a concert without any space. ps. the girl in this photo is ripped! So awesome.

wallsit

6) wall sits – quads parallel to the ground. If it’s too easy for you, Keep your legs touching each other. Still too easy? Raise one foot off the ground, switch at the halfway point.

So what’s your goal and how will you do it?

🙂


Tasty Tuesday: Chicken Tikka Masala

Professional cyclists DO NOT eat a healthy diet. Especially not the riders over in Europe. Mike and I saw this first hand when, while following the Giro d’Italia, we picked up their discarded feed bags on the side of the road. All we found were pastries and “energy bars” full of refined sugar and bad carbohydrates. It was unbelievable to us that their team directors think it acceptable and, above all, profitable to fuel their riders with these kinds of food. How much better would they perform on a 5 hour race day if their bodies could actually use the food they were given?

FeedZoneCookbook

This weekend I met two of my favorite chef’s: Dr. Allen Lim and Chef Biju Thomas. They co-authored “The Feed Zone Cookbook.” Allen Lim was the director of sport sciences for professional cycling teams, Radioshack and Garmin. He introduced the idea of gluten-sensitivity and the importance of a healthy diet in a training plan. Biju Thomas is an avid cyclist and chef to some of the top riders in the US. The cookbook is based on very simple but very healthy meals that could be cooked with 3-5 ingredients on one stove-top while on the road. I love it.

One of my favorites (and now perfectly adapted for me) recipes is their Chicken Tikka Masala. Their version uses lots of yogurt which is fine if it’s raw (or at least organic) but I wanted to see if I could get rid of it altogether. So I replaced it with canned coconut milk and OH-EM-GEE. Really, really yummy.

I was always nervous about cooking curry because it’s so tasty that I figured it would be complicated. Absolutely not the case. This is one of the easiest dishes I’ve ever cooked and it now holds a preferred spot on our meal planning menu.

Curry-Published


Ingredients (3 servings, double this to make 6 servings and last a couple days)

  • 4 cups of cooked quinoa for the base
  • 2 lbs chicken, cut into bite sized pieces (I used my leftover chicken from my roast last week)
  • 1-cup tomato sauce
  • 1 12oz can organic coconut milk (shake before opening)
  • 2 Tbsp curry powder
  • 1/2 a sliced onion
  • 1 tsp salt
  • a dash of cayenne pepper or 2-4 green chiles, cut into strips (optional)

Instructions

  1. Combine all ingredients in a bowl and, if you can, let marinate in the fridge for at least an hour. I didn’t have time for this and it was still delicious.
  2. Pour all ingredients into a deep pan and simmer, uncovered, over medium heat for 30 minutes.
  3. Spoon on top of your quinoa and enjoy!

It’s the simplest and most delicious meal. Definitely one of our favorites. Try to pair it with a spinach salad to get your raw veggies in.

Let me know how it goes! I hope you’re all having very fun and spicy days 🙂


Monday Mayhem: Cyclocross Nationals

Gooooooood Morning! This weekend was Mike’s birthday. We decided to drive three hours up to Madison, Wisconsin to see some friends race and check out the city. What an awesome 48 hours it was.

IMG_0879

Mike’s best friend, Kevin, decided to make the 5 hour trek from Cincinnati, Ohio to surprise Mike and spend the weekend with us. I have never seen Mike genuinely surprised and it was so wonderful. After a few awkward moments of, “What the heck are you doing here??” They were both so happy. The sarcasm and inside jokes started immediately and lasted all weekend. Luckily I know them both well enough that I could be included.

Madison is a really great city. I wasn’t expecting to like it as much as I did. Wisconsin University has 42,000 students. In a city of 250,000 residents, they have a huge impact on the fabric of the city. Their downtown is full of hippie dippie restaurants and shops and we all felt right at home 🙂 On top of that, I love the urban design and architecture of Madison and would love to spend some real time there.

IMG_0889 IMG_0888

After we woke Mike up with Happy Birthday and cupcakes, we spent all day Saturday watching Cyclocross bike races. They are a combination between road racing and mountain bike racing. Basically racing in parks and on hills and through mud and over obstacles. Unfortunately, Wisconsin in January is very wet and very cold. The mud was about 6″ deep and it was 20°F. Mike, Kevin, and I were SO happy to be spectators instead of racers. We got to watch our friend, Katy race. She’s incredibly strong and came in 6th! Not bad for collegiate nationals!

IMG_0884

IMG_0891

We also got to spend some time in the indoor pool and jacuzzi and our hotel. It came in very handy when our hands and feet were completely frozen. Can you imagine how the racers felt??

IMG_0881

IMG_0892

Some awesome businesses we visited in Madison: The Great Dane Pub and The Old Fashioned Restaurants (cheese curds with garlic sauce and grass-fed beef burger, YUM)

All in all it was a fantastic weekend. Mike’s birthday was a success. We were all reminded how awesome bike racing is and are starting to get excited about the upcoming road racing season. I also, thankfully, remembered that there is life outside of Peoria and that I have friends! Haha. I’m struggling a bit here but looking forward to being able to plan some of our future over the next couple months.

Friday Design: Make Your Own (Awesome) Belt!

Do you have a favorite belt? That piece of leather and buckle that is worn, soft, and molded perfectly to your body? Me too. I had it for 10 years. It was falling apart for 3 of those years. I bought it curved. Ladies, you know what I’m talking about. The curved belt means that you never have the flap at the back of your pants that lets everyone see your crack! It was amazing. I got it at Gap and they nor anyone else ever carried it again. What to do, what to do? Finally I decided to make my own! Duh.

I quickly found out from the leathersmith that cutting it out curved would be $300+. No fricken way. So I visited a leather supplier in town (who even knew they had those??) and they suggested that I buy a raw leather belt, soak it in water, and curve it myself. Then I could dye it and add whatever buckle I wanted. Sweet! So I bought two lengths of leather (if I’m going to do it I might as well do two) and two sets of dye (brown and black). The guy there was super cool and he let me use all the tools in the shop to punch holes and cut them to the right length.

Then brought them home and started the very long and involved process of curving, dying, and finally installing the buckle.

photo 1< First I cut all the holes and shaved down the area that would fold around the buckle so it wouldn’t be fat and catch on my pants. Yes that bandaid is from that Exacto.

photo 2< Then I soaked the belt and let it dry around the upper part of a fitness ball. This gave it the curve. After it dried the side walls of the belt were also curved from the ball. I rewet it and laid it flat on the floor. I kept the curve but flattened the sidewalls by letting it dry with heavy books on top of it. You can rewet and remold as many time as you want!

photo 3^ Then began the dying process. I had to remove the buckle again for a blank canvas. Then I left the belts on our coffee table for several weeks and just applied a coat of dye once every few nights. I stopped when it wouldn’t soak up anymore. Once the color was done. I started on the matte top coat.

photo 4< The state of our coffee table for a month. Then I mounted the buckle. Took it back to the shop for a final trim of length and …

photo 1 copy Voila! This belt buckle was repurposed from a belt I got in Spain when I was 13. The leather was falling apart so I just cut it off and put it on my new one!

photo 2 copy ^ After only a few times wearing it, this one is showing some usage. I love it!

photo 3 copy< And no matter how hard you look, you can’t see my crack!

I loved this whole process. It was so cool to see it transform into something pretty. And it was SO easy! Now I’m thinking of bigger and better things. I do love my leather purses…

I hope you all have adventurous weekends 🙂

Thriving Thursday: Ten Steps for Fighting the Flu (new, improved, and tested)

Get your flu shot!! Oh crap, that didn’t work…Get your flu antiviral! Is anyone out there connecting the dots?? This year Fluzone and EVERY “health” department in the US ramped up their efforts to get every man, woman, and child a flu shot. They offered them almost for free on the doorstep of every pharmacy and work place. They put it on billboards, the radio, and TV. So why are we now close to an epidemic of flu outbreak? Because, like I said in this post, FLU SHOTS DON’T WORK.

Why does anyone think it is a good idea to put the virus plus a whole bunch of very toxic chemicals into your blood stream, effectively killing your immune system? Why not focus on doing everything you can to strengthen your body to fight the virus when you finally come in contact with it. Same goes for the antiviral.

The concept of vaccines are great. Inject the virus so that your body can learn to fight it off. Except that they are never sure which strain of the virus you will come in contact with and they mix it with lots of fun stuff like aluminum (thimerasol), antifreeze, bleach, and embalming fluid. Do you think that stuff helps your immune system? Really? Click here to read the CDC dancing around all the variables that make the shot useless.

Update (1/22/13): If you’re interested in a scientist’s research and opinion, please check out this article by Dr. Mercola.

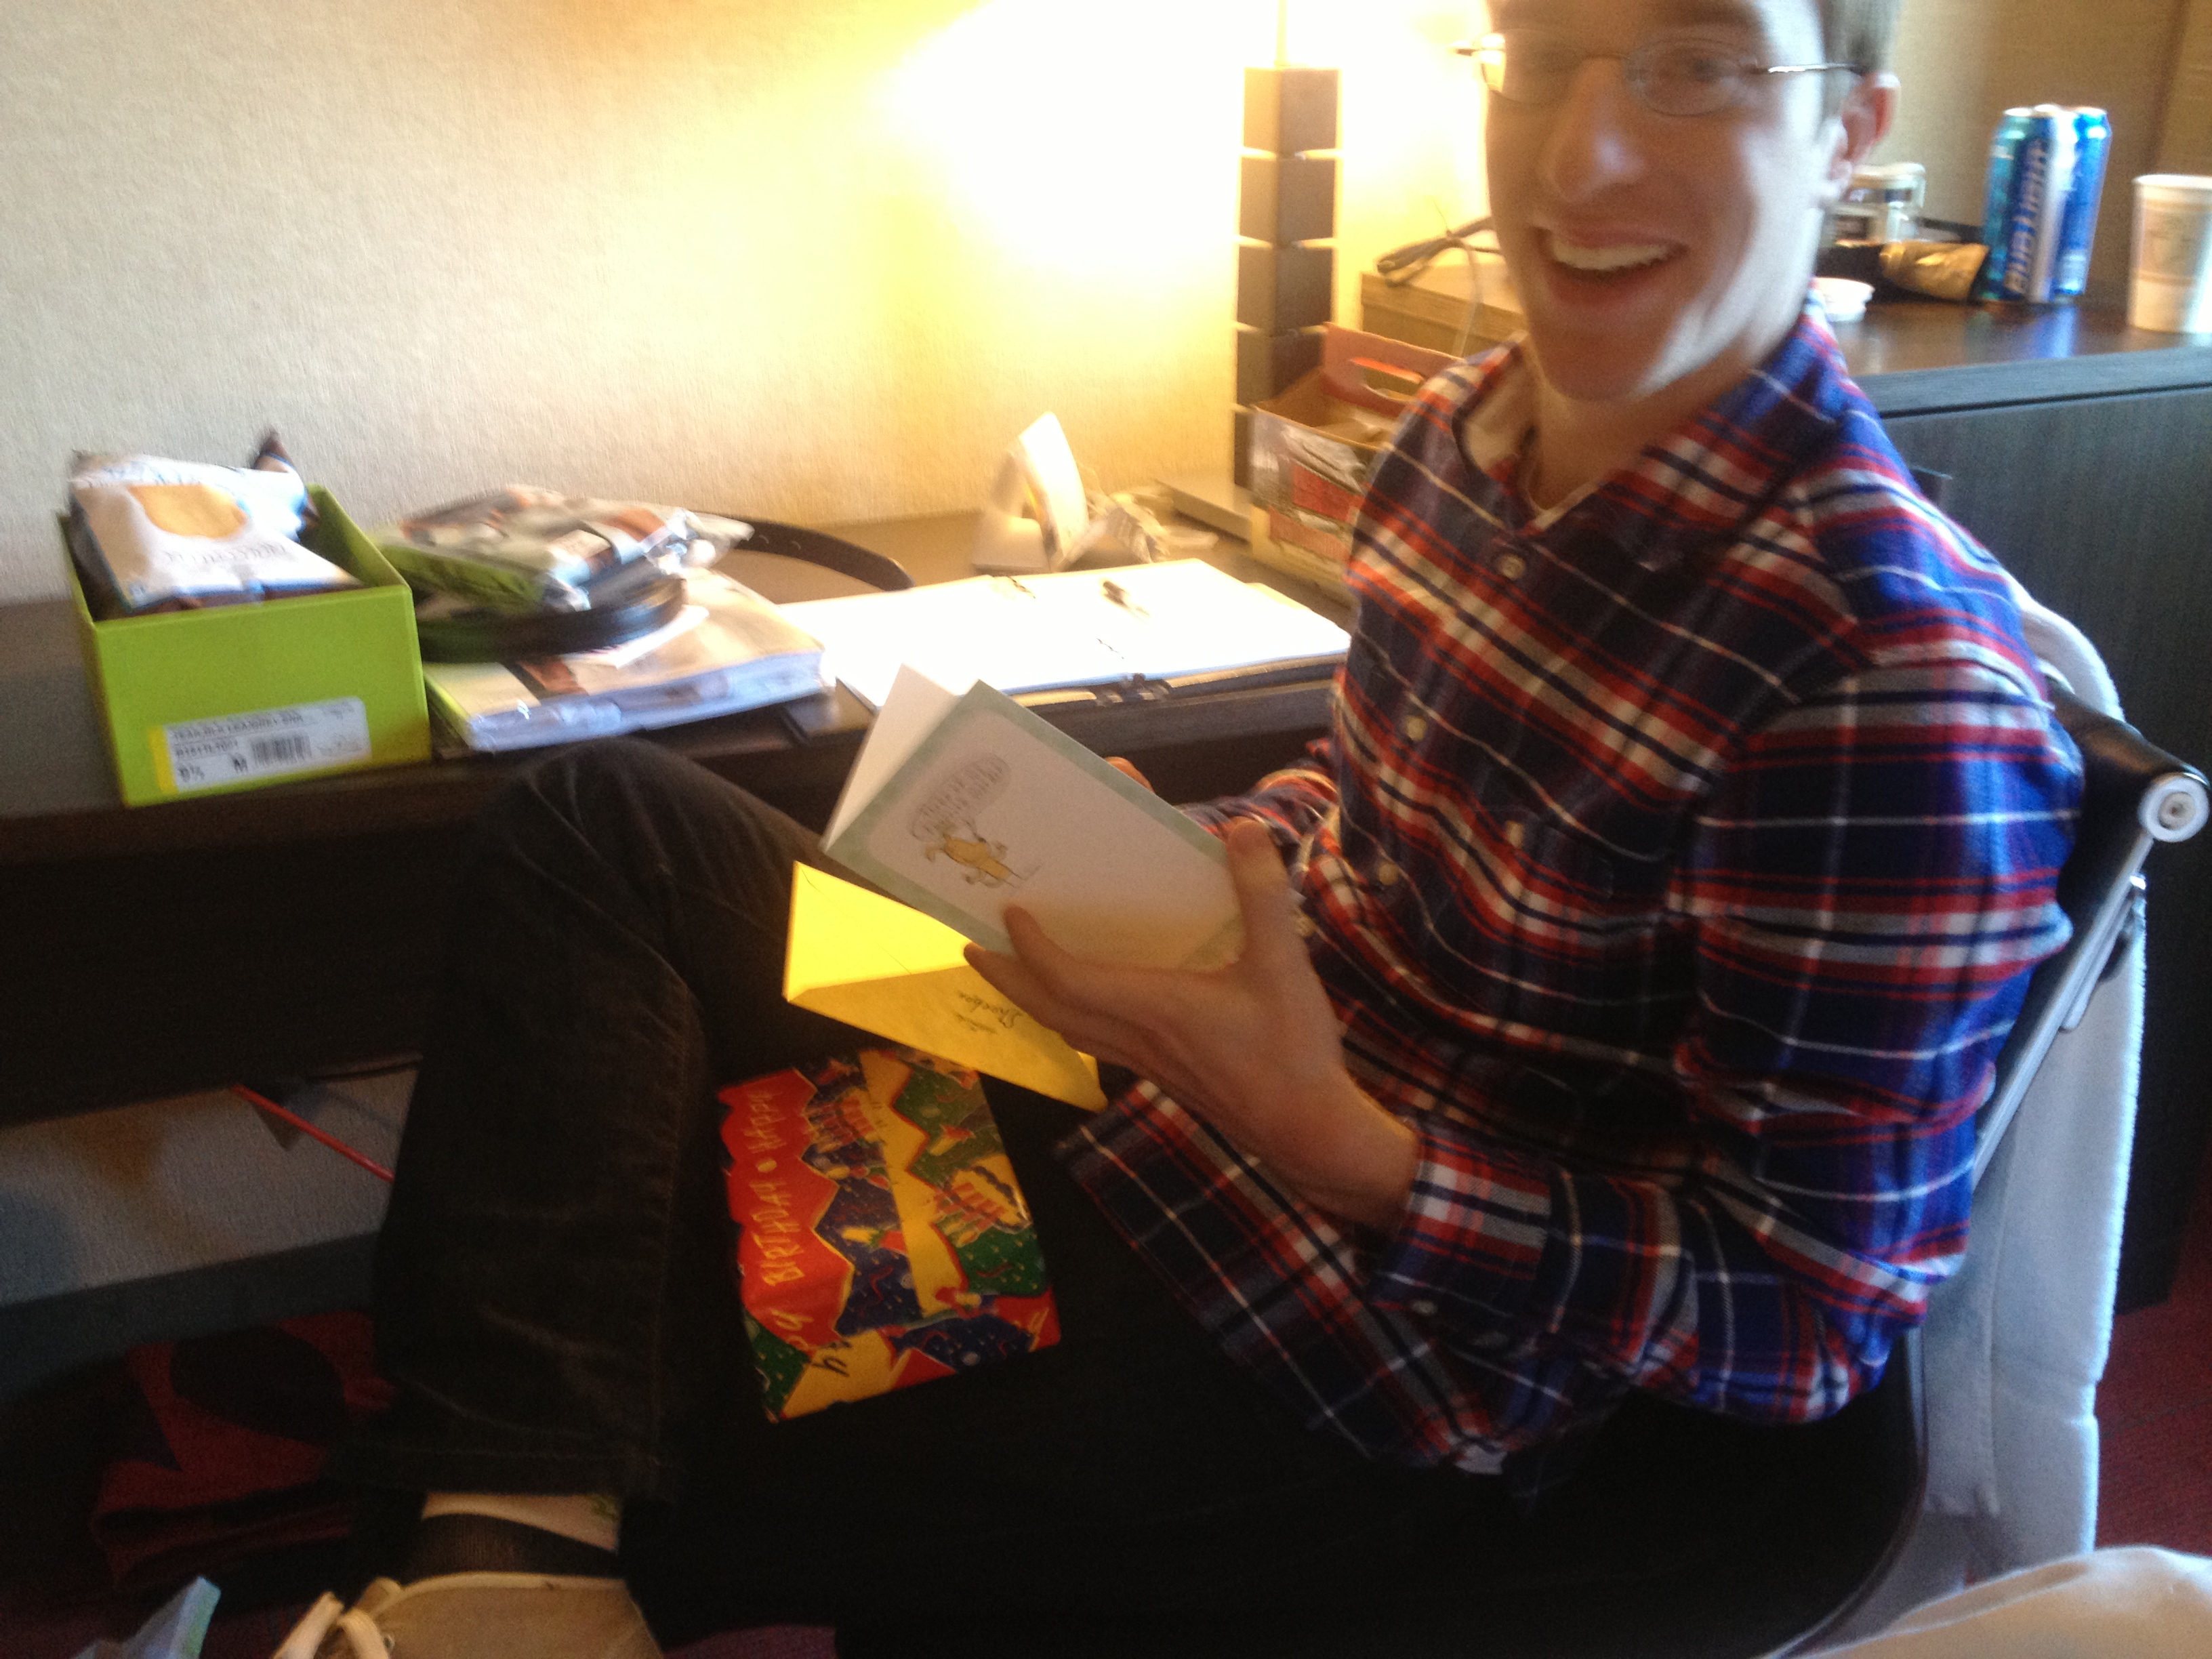
Now, I have to admit, I got the flu. I had a fever, sore throat, sneezing, and coughing for three days. 36 hours. Five days later, the runny nose and coughing continues but now I’m coughing up some yellow stuff (sorry for the sordid details) because the crap that grew in my lungs is clambering out. I’m healing. Most other people I’ve talked to had the severe symptoms plus stomach issues for multiple weeks and the less severe ones for several weeks after that. I gave my body a chance to fight and it’s doing just that. I’m the very proud owner of a healthy body.

Ok, so now I’ll step off my soap box. If you didn’t get the flu shot, great job! If you did, just don’t do it next year. Please? For both healthy and not so healthy people, here’s how I dealt with the symptoms (even the severe ones) well enough to work 10 hour days.

NoDrugs

1. NO MEDICATIONS. None. No Tylenol, no Advil, no cough medicine, and especially no anti viral like Tamiflu or Relenza. Regarding the over the counter drugs, dulling your symptoms is never a good thing. Listen to your body. If you’re tired, get some sleep, if your nose is running or you’re coughing, your body is trying to get rid of something, please just let it. And regarding the anti viral, the list of complications is SO much longer than the list of potential benefits. See here for what the CDC has to say about that. If you body can learn to fight off this one, it will have a better chance of fighting the next one.

photo 2

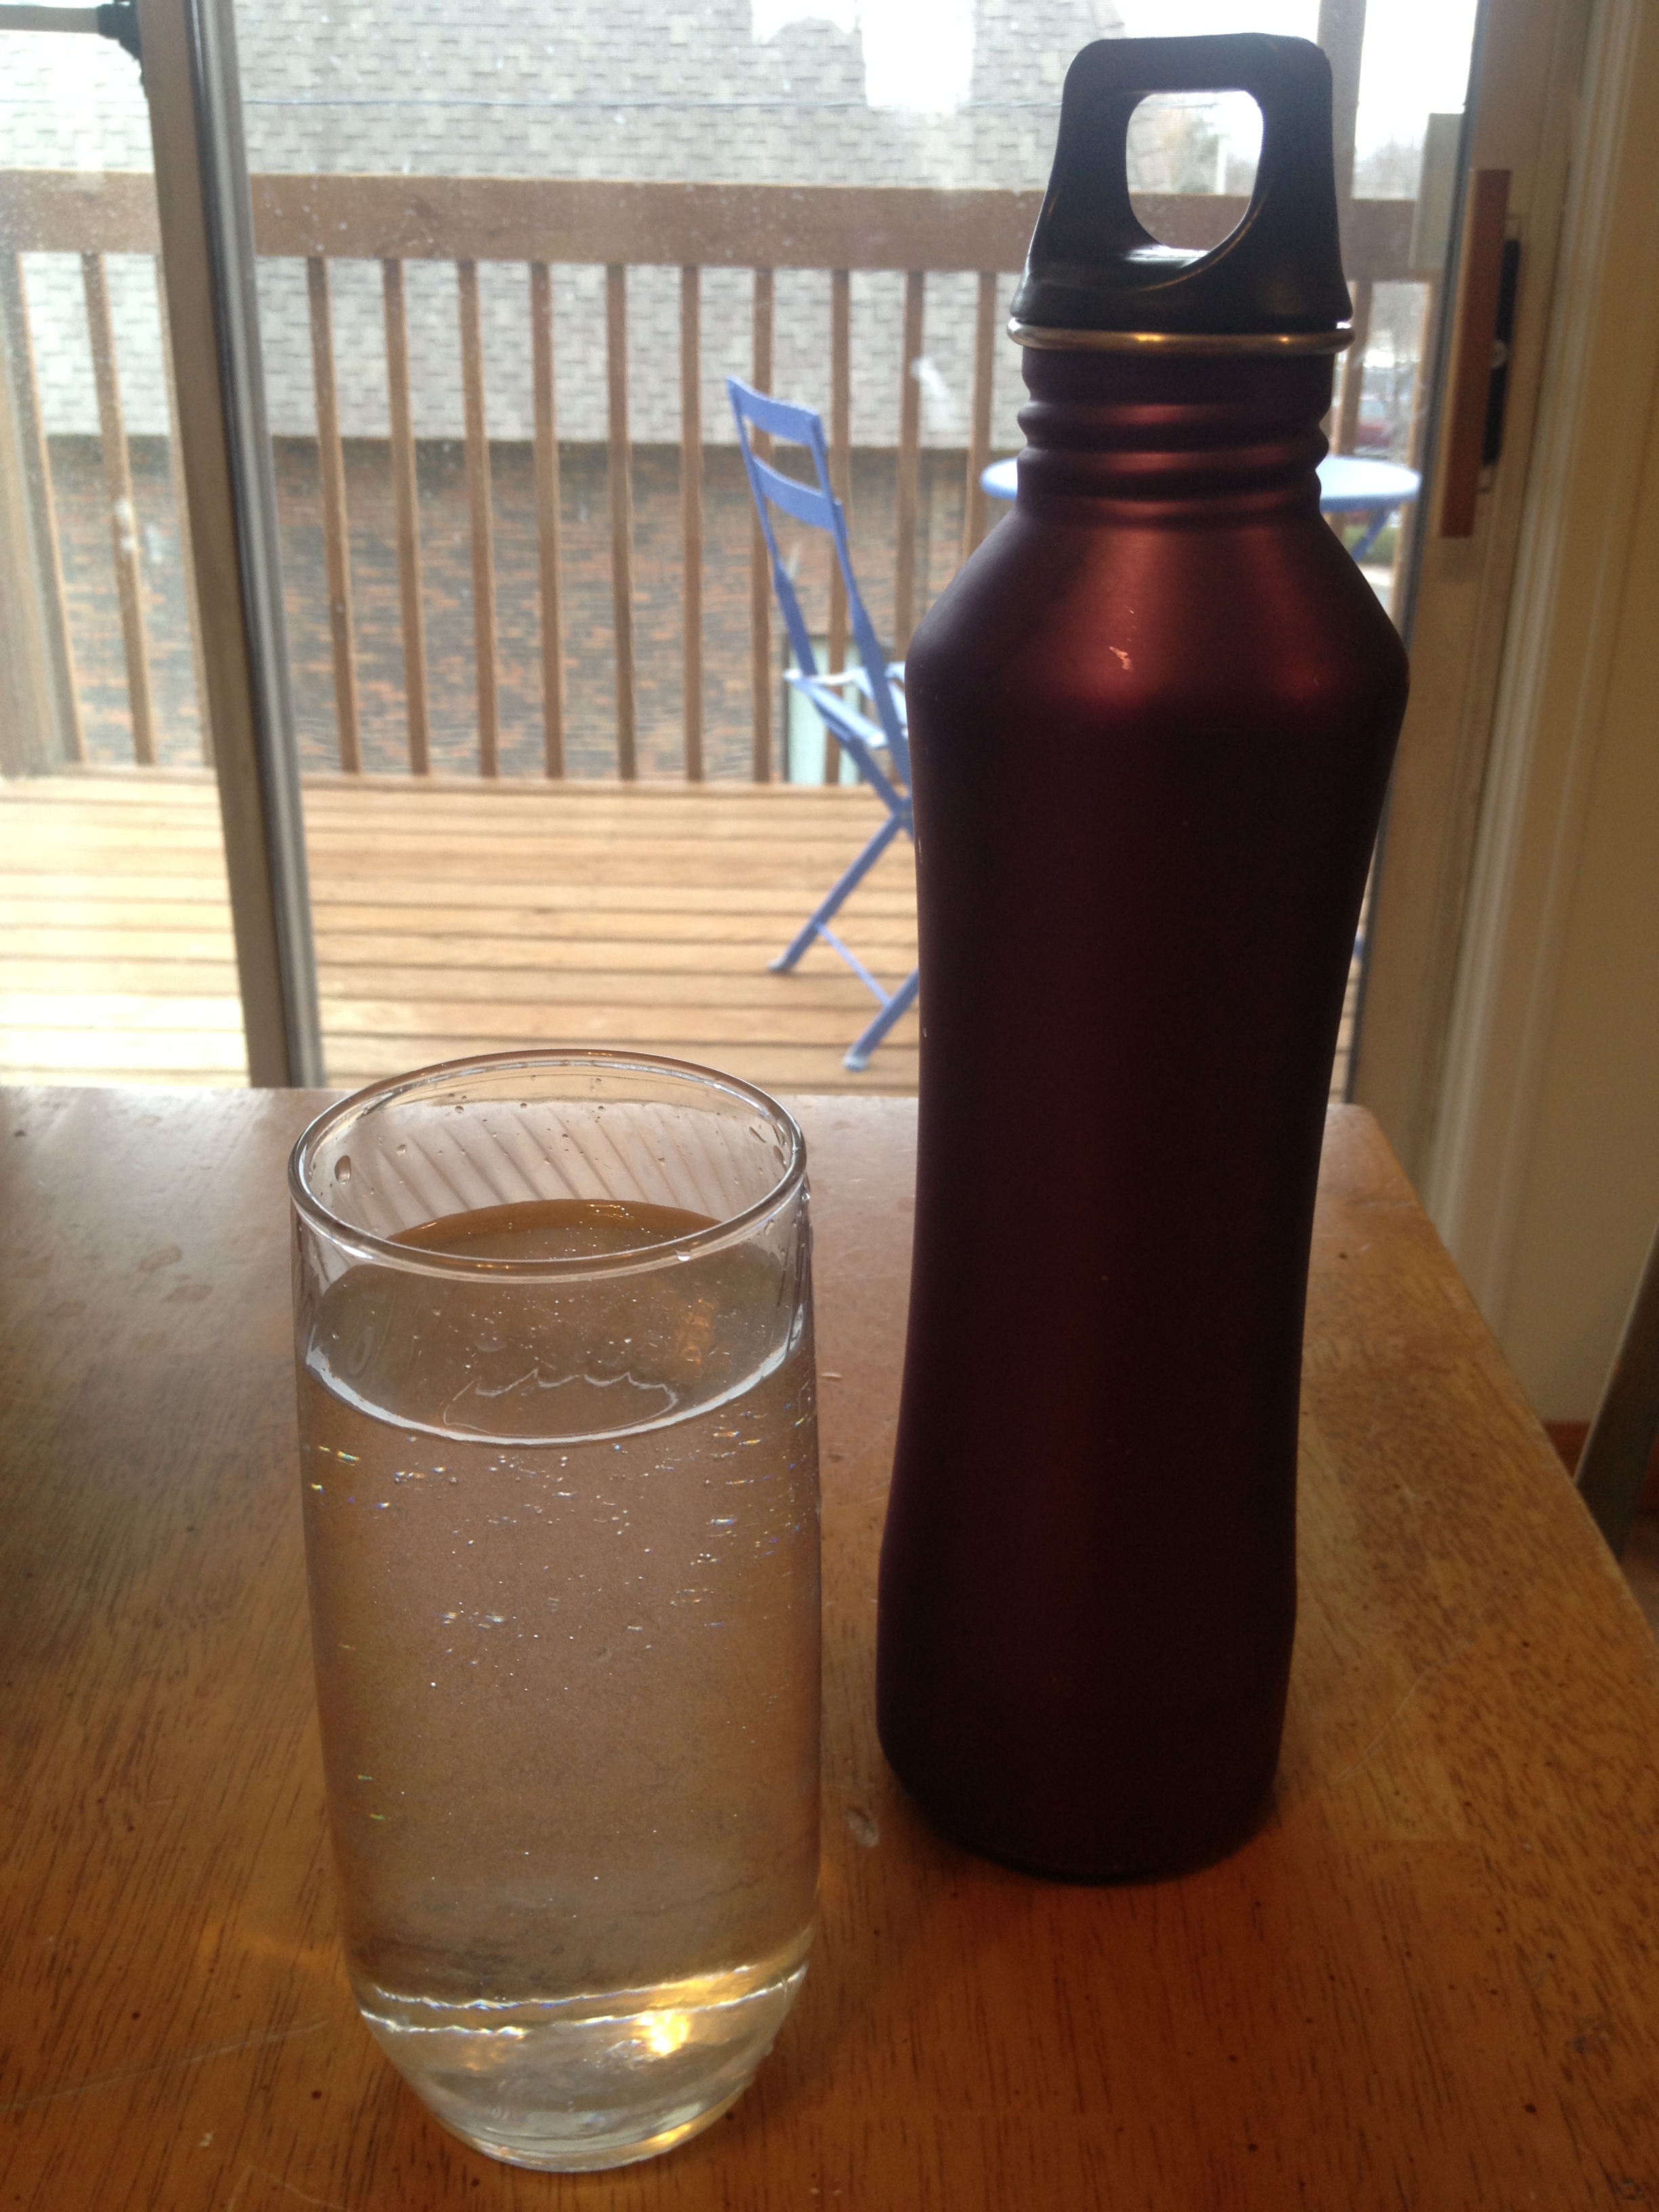
2. DRINK WATER. Keep a water bottle near you at all times. Constantly be drinking from it. You should be peeing about every half hour. I’m not joking. Give your body the conduit it needs to flush out those bad cells. I can’t stress this one enough.

photo 3

3. LOTS OF VEGETABLES. Eating a diet of mostly veggies has never been more important. Eat a varied diet of dark leafy greens (like spinach and kale), aliums (like onions and garlic), root veggies (like carrots, beets, and sweet peppers) and every other kind of veggie (like mushrooms, zucchini, and squash). Eat as many as you can in their raw form but if you get bored with that you can roast them, make them into soup, or even into pancakes! Cooking while you’re sick is no fun so make everything in big batches.

photo 1

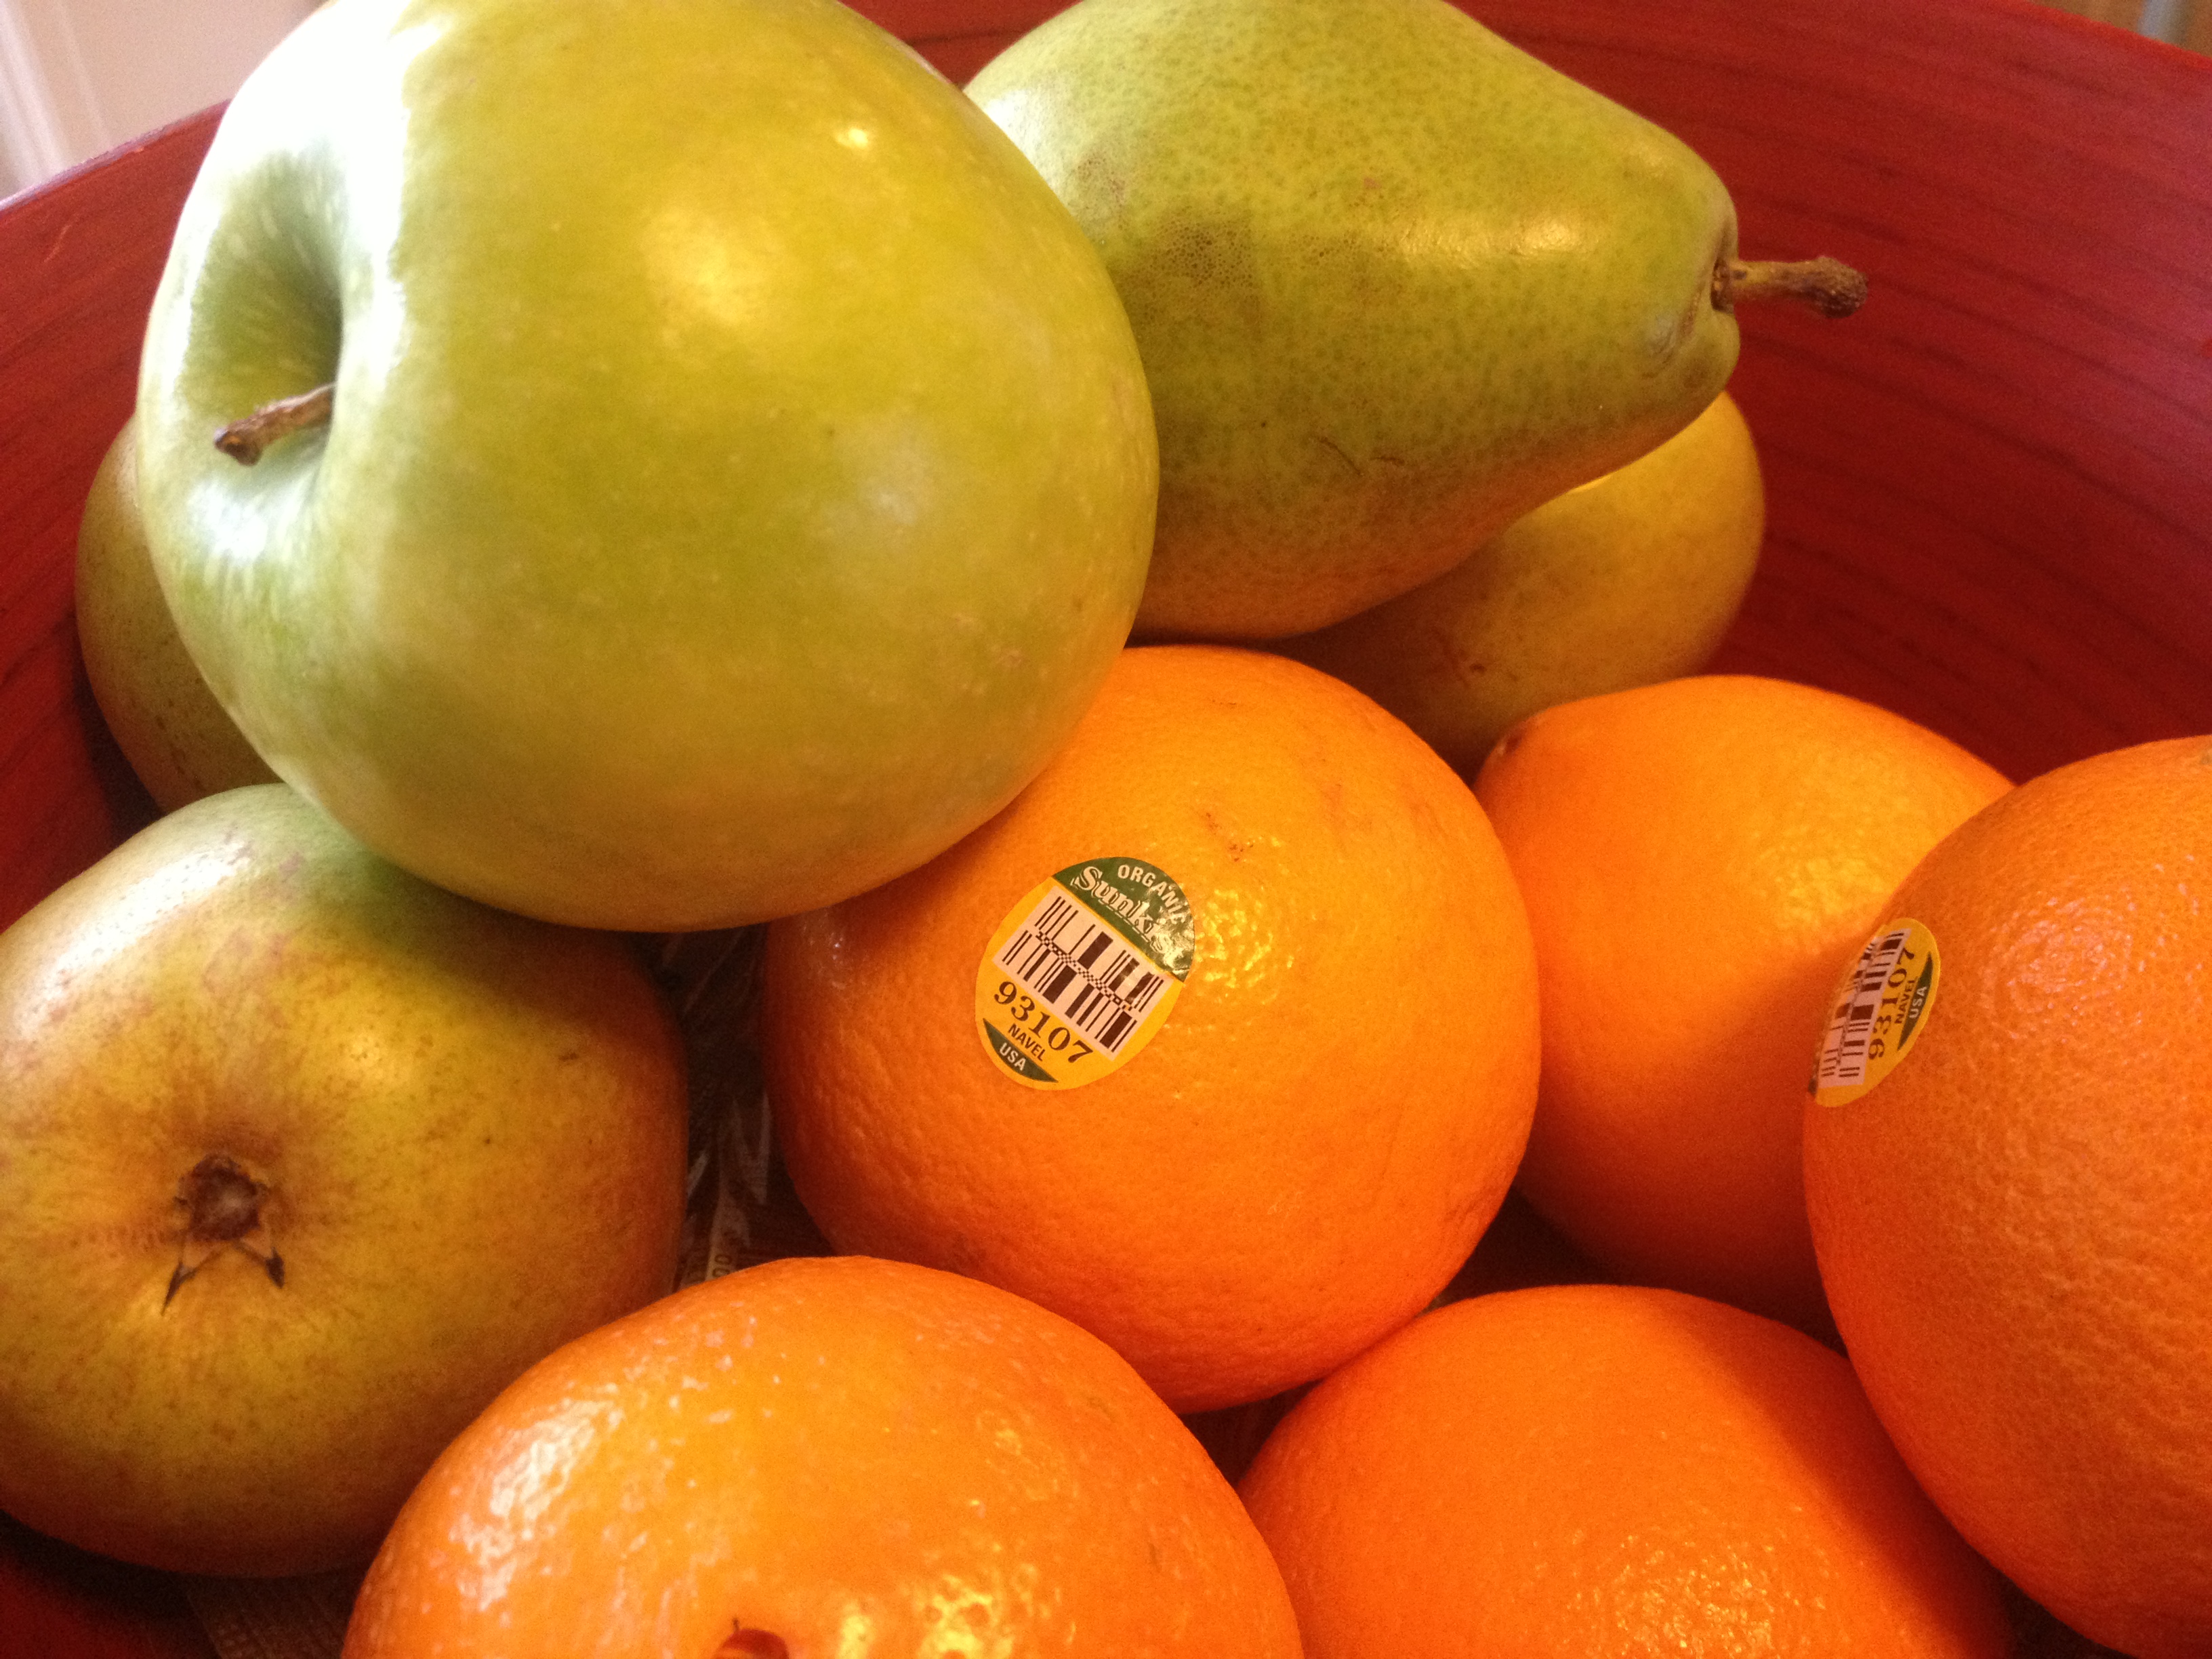
4. DON’T FORGET THE FRUIT. Keeping sugar out of your diet is really important right now but so many nutrients and immune strengtheners are found in fruit. Try to stick to fruit that is low in sugar but high in good stuff like Vitamin C and antioxidants. Eat oranges, granny smith apples, and all kinds of berries.

5. KEEP THE CRAP OUT. Completely eliminate dairy, refined sugar, red meat, and grains (including oats, rice, and bread) from your diet. Your body has to work extra hard to process that stuff and right now it needs all its energy to fight a virus. Definitely still get in your protein and healthy fats with things like beans, nuts, and organic poultry but cut out everything else.

MLD3 RawD3

6. VITAMIN D. Vit D3 is one of the most necessary and under-appreciated vitamins in the human body. We aren’t outside to produce it even close to as much as we should be. I am all for getting your nutrients from your food but this one is very very hard to get without being outside all day. So find a cleanly sourced brand and take a very high dosage. About 10,000 IU. Yep 10,000 every single day. You will be amazed at the results.

photo 4

7. HOT TODDIES. Add a Hot Toddy to your pre-bedtime routine. My mom taught me this one and it works like a charm. Stir together boiling water, the juice of half a lemon, a tablespoon of honey, and a tablespoon of whiskey or bourbon. The lemon disinfects your throat, the honey soothes it, and the whiskey makes you sleepy. And it tastes and feels SO good.

photo 2 copy

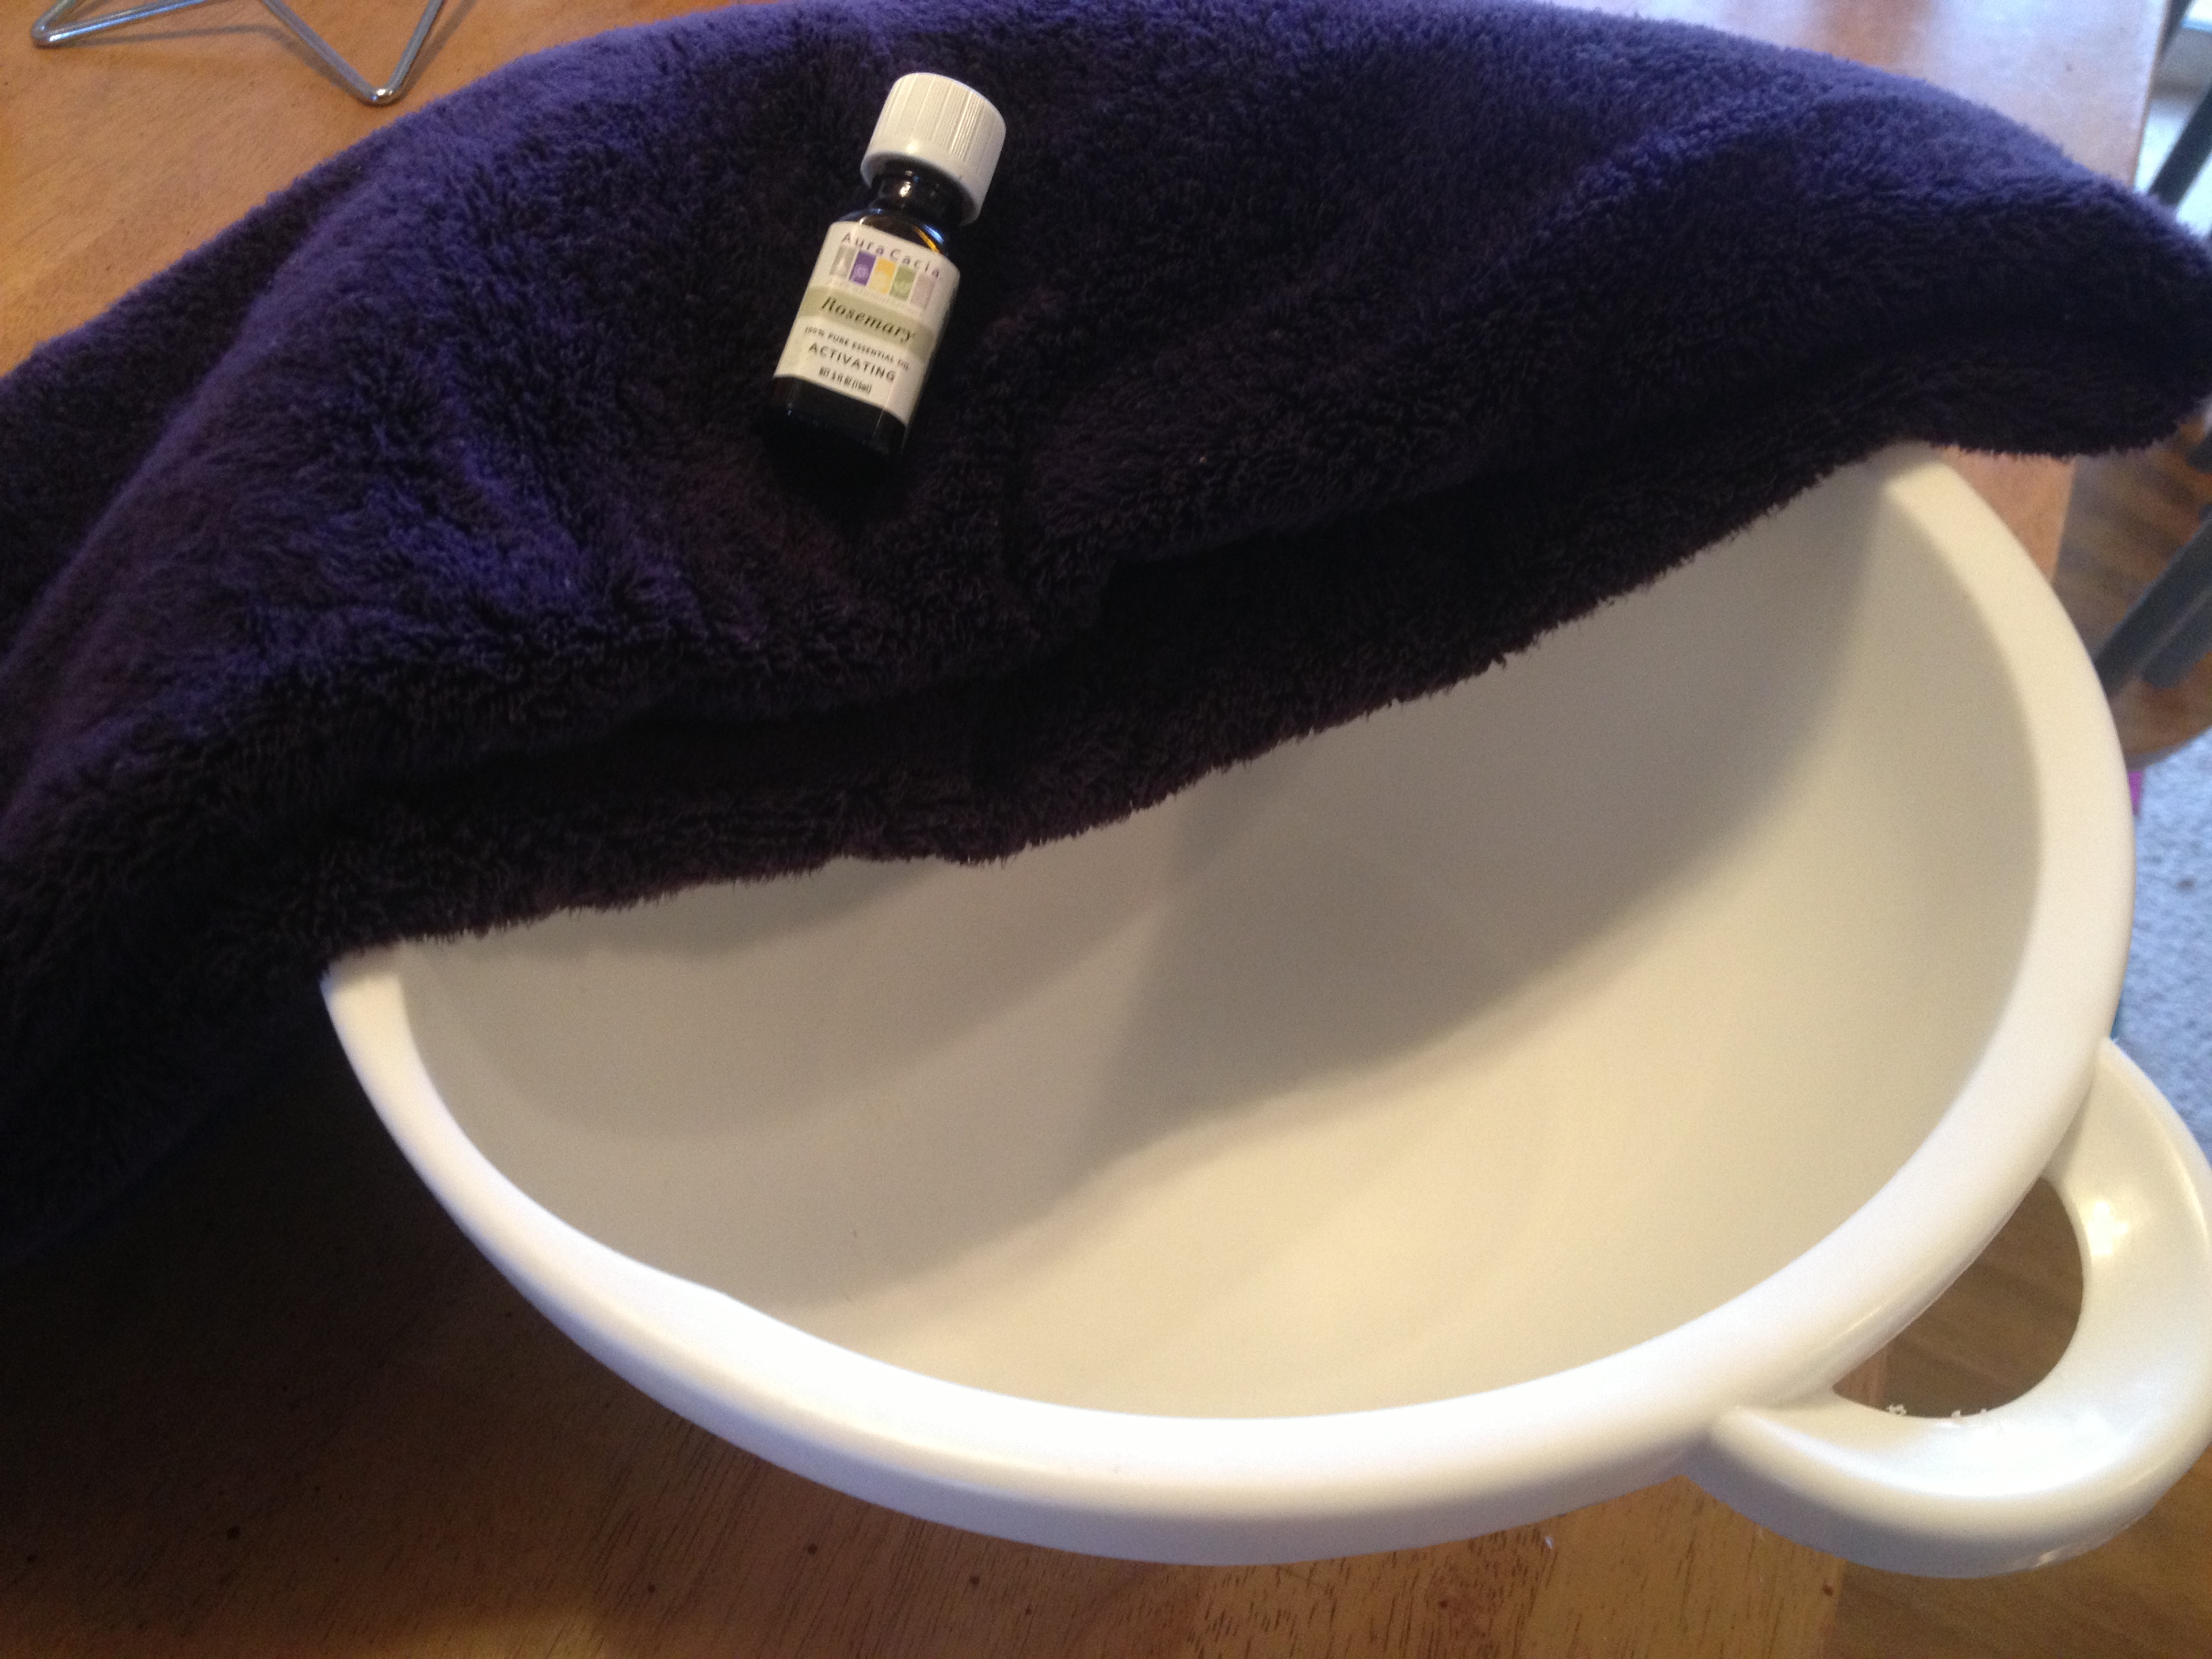
8. STEAM YOURSELF. Take a hot bath before bed to loosen up your congestion and your muscles. If that nose still won’t come unstuffed, do an intense steam. Add some rosemary extract and boiling water to a bowl. Put your head over the bowl and then a towel over your head and the opening of the bowl. Breath deeply taking breaks whenever you need to. Keep the towel on until the steam stops flowing from the water.

photo 1 copy

9. HUMIDIFY. If you have a humidifier, put it right next to your head when you sleep. It will counteract the dry winter weather and keep you from coughing the night away.

10. SLEEP. Lots and lots of sleep. Cancel your plans and go to bed at 8:30. Sleep in. Sleep all weekend. Take naps. Anytime you’re asleep, your body has a chance to repair itself. And isn’t it awesome to have an excuse to sleep all day anyway?

Eating, sleeping, and drinking like this is hard. Seriously hard. You have to do every single step in order for it to be effective. I’ve been doing it for 8 days now and will continue to do it until I’m back to 100%. And while it’s difficult and frustrating at times it’s better than skipping work or school and feeling like crap all the time. A runny nose and a cough is infinitely more appealing than being bed ridden for two weeks.

Update (1/22/13): In the article at the top of this post, Dr. Mercola also recommends

  • Optimizing your Gut Flora
  • Regularly take, high-quality doses of animal-based Omega 3.
  • Eat natural antibiotics like oil of oregano and garlic.
  • Wash your hand frequently (but not with the completely unnecessary antibacterial soap!)

Why don’t you just try this? What do you have to lose?

Workout Wednesday: Hop Back to It

This is my first workout post since the Holidays. I’ve finally detoxed myself off of the ChocoCheese Diet: a sophisticated diet of only chocolate, cheese, wine, and NO exercise to speak of for the 10 days surrounding the Holidays. And I’m finally over the flu. Do you think the two were related? Hmmm.

I’m over the fever of my flu but still have a lingering cough and some sniffles. No matter! Read this awesome blog post about if you should or shouldn’t workout when sick. So because my fever is gone, I hit the yoga mat for some light exercise on Monday and then did the Beginner form of this workout yesterday. Today I’ll be back on the bike trainer doing intervals for an hour or so.

Anyway, it’s the New Year. We don’t have any more excuses. You have to get back to your regular routine whether you like it or not. And yes, I’m really struggling with this one too. Want to face it together?

Beginner through intermediate (12 minutes)

– 20 seconds on/ 20 seconds off

– each exercise 3 times in a row

Advanced (16 minutes)

– 30 seconds on/ 10 seconds off

– each exercise 4 times in a row

Exercises:

Side Hops

1. side hops

LegBalance

2. leg balance – touch the top of your water bottle or the seat of a chair (switch sides at 10 seconds)

PushUp

3. push up

hipraise

4. hip raise

plank

5. plank (with kicks for advanced form)

Squat Jump

6. squat jumps

REMEMBER: this workout only works if you push yourself. HARD. This is the most difficult part of getting back into home workouts… but I don’t wanna push myself… just do it, you won’t regret it, I promise.

What are you struggling to pick back up this New Year? How are you going to beat it? 🙂

Tasty Tuesday: Sushi Night!

With the holidays and all the other things I have to say, I haven’t posted a recipe in a few weeks. I’m going to bring back the routine with a very easy and very fun recipe you can do with two people or 7 people. Make Your Own Sushi! For Christmas, my siblings and I decided to give my parents something they don’t get very often: all of us together. So we wracked our brains to think of how we could do a cheap, healthy meal and instead of going to a crappy restaurant, we cooked for ourselves!

There is a little hardware involved in this one ($2 bamboo mats you get at the grocery store) but people can share so you don’t need many. The prep is SUPER easy and the dinner making part is really fun. Just try it why don’t you!

photo 3 copy photo 4 copy^ Prep everything in slivers.photo 1 copy< Lay it all out.photo 5 photo 1photo 2^ Roll your sushi!photo 3photo 4^ My brother had the great idea of taking a roll to work the next day 🙂photo 2 copy^ Isn’t my family beautiful. Gosh I miss them so much, this photo makes me want to cry. Blehhhhh.

Supplies:

  • plastic wrap
  • bamboo mats, 1 per 2 people – $2 at your grocery store

Ingredients (can really be anything you want but this is what we used):

  • short grain rice (brown if you can find it)
  • rice vinegar (or red wine vinegar if you don’t have it)
  • Nori seaweed paper
  • carrots
  • avocado
  • cucumber
  • crab (sushi grade)
  • salmon (sushi grade)
  • mango

Instructions:

1. Prep the rice – sushi rice is prepared in a very particular way.

  • Pour the rice into a bowl and cover with clean water. Slosh the rice around with your hand for 15 seconds then drain it. Repeat several times until the water coming out is pretty much clear.
  • Add rice and more clean water to a pot at slightly more than a 1:1 ratio.
  • Cooking on high heat, stirring every couple of minutes, until the water boils. Lower heat and cover for 6-8 minutes, stop when the water is absorbed. No need to stir.
  • Remove the rice with a wooden spoon so as not to damage it. Also, don’t scrape it off the bottom of the pot, just use what comes out easily.
  • For every 3 cups of rice, add 1/2 cup rice vinegar. Stir it together and you’re done!

2. Cut the fillings into long, thin slivers.

3. Lay it all out on the table and let everyone go to work!

  • Our photos are clearly the work of amateurs. Just check out this link for the best instructions I found on the internet. Sushi rolling takes some serious technique so it’s really funny trying to do it. But everything tastes delicious no matter what it looks like and, eventually, you get the hang of it…on the last roll. Haha.

And that’s all! And when I say “that’s all,” I mean this meal is an adventure. It’s so much more fun than going out to eat though, and so much cheaper!

Has anyone else ever done this? How did it go? Much love everyone. I hope you all have happy Tuesdays 🙂

Monday Book Review: Ape House

Happy Monday Ya’ll! I hope you all had wonderful weekends. If any of you read last week, you know I was pretty sick with the flu. Well it looks like I have kicked this flu (the one the lasts most people I’ve talked to about a month) in a week! I’m not quite back to 100% but definitely a functioning human rather than a zombie. I will be writing a post on how I did that for tomorrow, but TODAY…today I will tell you about an amazing book I recently read.

ApeHouse

It’s called Ape House and it’s by Sara Gruen, the same author who wrote Water for Elephants. I was in love with that book (and movie) so when I saw another of her novels on sale at Barnes and Noble, I had to snatch it up. I read this book in 48 hours. It’s amazing.

No spoil summary: The main character Isabel works at a language lab with six bonobo monkeys. While the lab does amazing and very humane work, there are nay sayers who decide that they know better (as with everything in life, right?). Finally, they take matters into their own hands and a tragic drama ensues. Gruen is fantastic at making the reader feel the monkeys’ and their caretakers’ pain as they fight a long road from imprisonment back to freedom.

Why it’s special: The lab in this book is based on a real language lab in Des Moines, Iowa. Gruen spent a lot of time at the real lab, with the real monkeys and came to regard them as friends. You can feel her reverence for the monkeys in the way she wrote this book. They become human, real people, whom you relate to with empathy and joy. I think the main character is very much like Gruen in her complete love for the remarkable animals in her life.

The coolest part: I had no idea what bonobo monkeys were before reading this book. Turns out, they’re really fricken cool! Talk about smart. I would love to meet these monkeys in real life but they’re apparently very picky about who they become friends with. Basically, just read the book, it completely changes your perception of “human-like” monkeys and the labs that research and care for them.

Has anyone else read this book? Did you like it?

I hope you’re all having wonderful days and are settling into 2013 🙂