Category Archives: Inspiration

DIY Monday: Happy Couch Pillows :)

Happy Monday Ya’ll! I am so happy January is over. That was a tough month for me. It’s always kind of shaky getting back on your feet after the holidays. Combine that with some harsh weather and you get a very sad, cooped up kind of life. But only for January! And now it’s February and spring is a whole month closer!

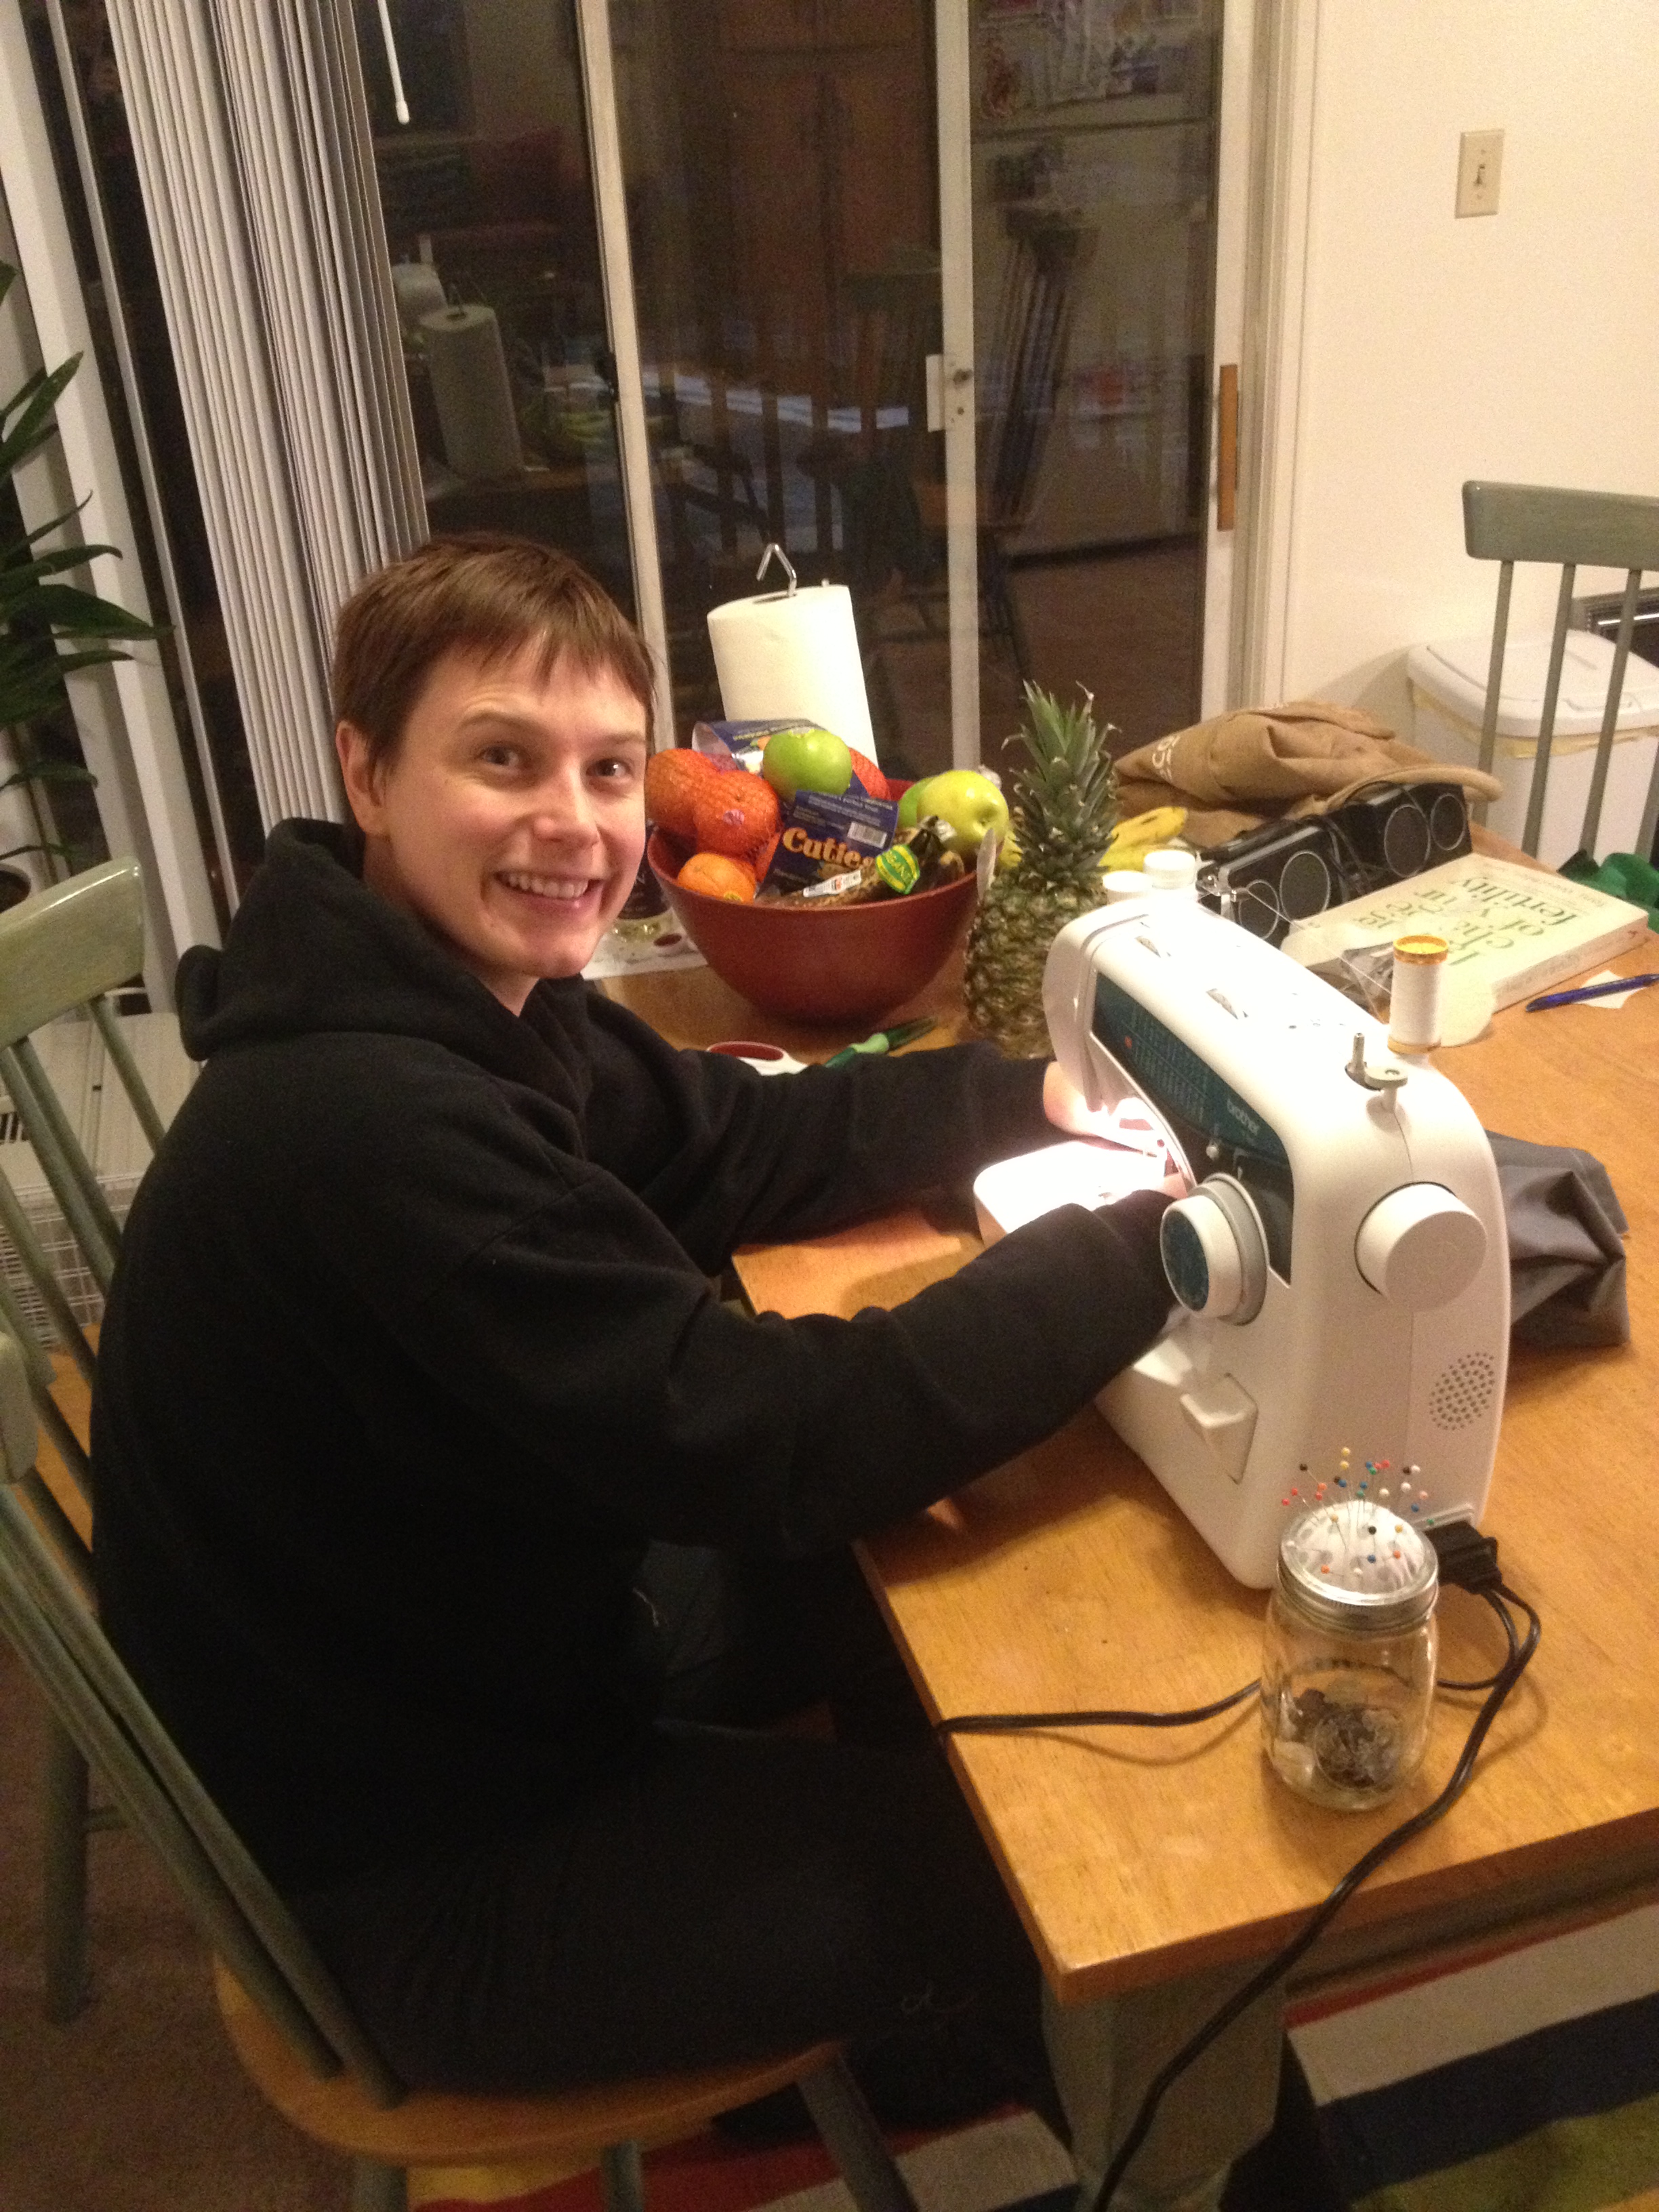
So this weekend I got Saturday off at the very last minute and I got TWO whole days off in a row. Woohoo! I took complete advantage of it by snuggling in for some terrible TV for pretty much the whole two days. I also decided it was time to break out the new sewing machine I got from my parents for Christmas.

It is unbelievably cool. They’ve invented so much neat stuff since the last time I sewed (about 10 years ago?) So I got the requisite pant and shirt sleeve hemming out of the way. And then I began on our new couch pillows!

photo 3

photo 5 photo 4

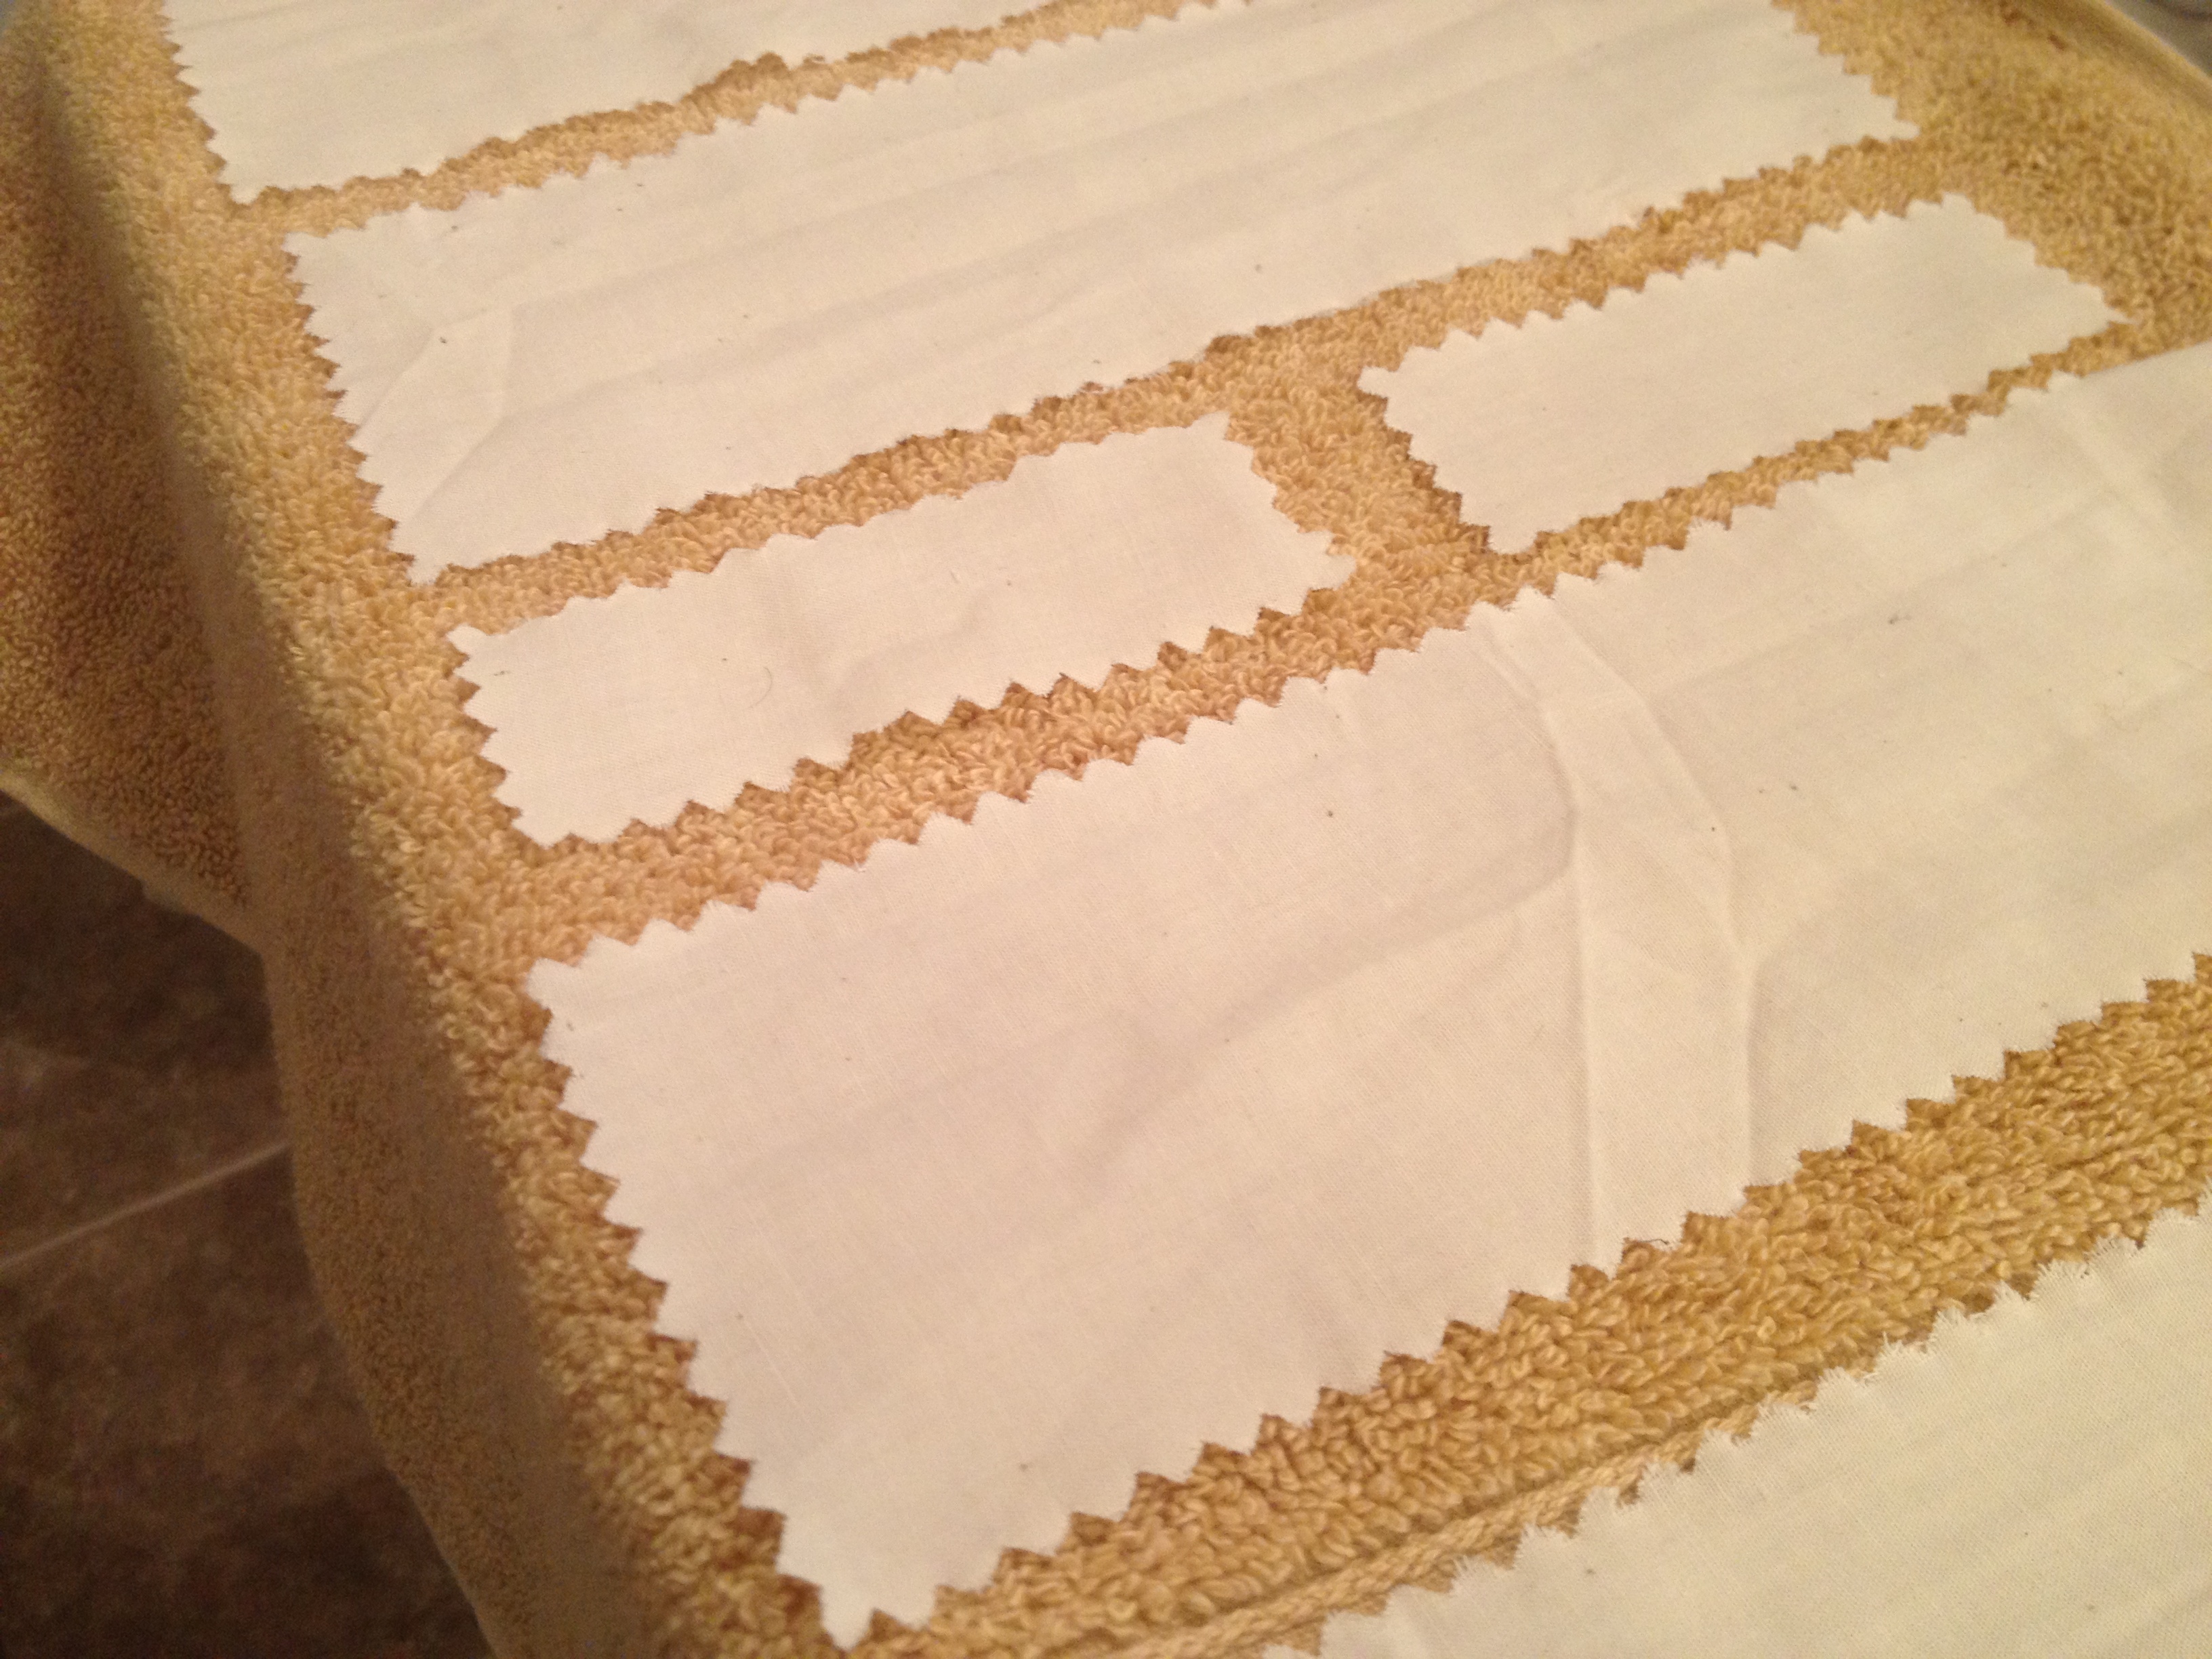
Some old (18″x18″) pillows from Goodwill, simple cotton fabric, and about two hours of machine time and I had these babies! I took a lot of inspiration from Pinterest but I needed to make some that wasn’t too girly (in consideration for the man I share a house with) but was also kinda funky and cute. I love them.

I used this awesome guide for fold over pillows.

TIME: 2 hours sewing time

COST: about $10 each

LEVEL: beginner – pillows are SO easy. The hardest part was sewing in circles for the eyes.

photo 2

What do you think?

Happy February! πŸ™‚

Fun Times Friday: Lunch Date and Line Dancing!

Happy Friday everyone! You made it. Since you’re coming up on some blissful rest days, I thought I’d give you a few ideas for a day out. Here in Illinois, it’s bitterly cold; last Saturday we had a heat wave when it got up to 45Β°F. Mike and I are beginning to get cabin fever couped up inside all day long. So since, it was my date day last Saturday, I got us out and around town as much as possible. All while staying under a budget.

First we picked up lunch from a wonderful little bakery/caterer/deli in Peoria. It’s called the Cracked Pepper and they had pepper grinders everywhere!

CrackedPepper1

CrackedPepper2

These were my favorites. Isn’t the gold so pretty?

Riverfront

Then, because the sun was out, we drove down to the Peoria waterfront and ate our lunch on a bench outside. We bundled up so we wouldn’t freeze and it was so wonderful to just sit in the sun. And cheap!

Then, ever the scavengers for cheap activities, we headed to the Caterpillar Visitors Museum to check out all the big machines Mike helps build. He gets in for free and I only cost $7. Sweet! Keep a lookout for student, senior, employee deals in your area to save yourself some dough. You can find out events and discounts in local (free) papers and handouts in newspaper stands.

Catmuseum2

I lost track of what all the machines were called… But they’re cool! And Mike helps make them πŸ™‚

CatMuseum1

This is the WHEEL of the biggest truck made, ever, in the world. It’s used for mining and the bed of it is 35 feet wide. In the museum, they fit a movie theater in it. So sweet.

Catmuseum3

The simulator driver things. I had really wanted to get my operators license until I tried this thing. Mike was awesome. Me, not so good. Lol.

Then that night…drumroll please…we went line dancing! What?? I never really thought about it but, of course, line dancing in the midwest is the real deal. It was about 20 minutes from our house in a real barn called Stone Country Saloon. There was a massive dance floor and tons of locals (none of them wearing plaid oddly enough). It turns out that when I get a couple beers in me, I’m really pretty good at line dancing. I pick up the moves like a champ. By the end, I had people coming up and teaching me the steps. I guess that’s normal in these places but I felt privileged.

Linedancing2

Mike stayed at the bar to watch most of the time but jumped in when he felt he could do it. Isn’t it weird how much more nervous to mess up men are when it comes to dancing? Maybe it’s their lack of hips. I don’t know.

Linedancing1

But I’m in love. I’m going back this weekend. I want to get to know the patrons there. And the awesome saloon owner, Dan. And I WILL get good at line dancing before leaving the midwest.

On top of all this wonderfulness, the cover on a Saturday is $7 (a little steep) but the beers were $3 (makes everything ok).

What are some sweet deals you’ve found in your area? I hope you have a fantastic weekend!

The Dark Side of Happy

I recently updated my “about me” to include a few rules. One of them is that I have to tell the dark side of being happy. There is one. And, although it’s not around the majority of the time, it does drop by for a cup of tea every few weeks.

“You can’t know happy without knowing sad.” – My Dad

That’s true actually, you can’t recognize the happiest moments of your life unless you have something to compare them to. On that same token, everyone’s moments operate on a different scale. Your sad may be MUCH sadder than mine. I think that’s the case as people get older and they experience more loss and hardship. But that’s also why, as people get older, they have the opportunity to really find happiness. Because they can find it in the smallest of victories, the smallest of successes and joys. Middle school sucked. I had very little sad in my life so every tiny thing that went wrong seemed catastrophic. Back then, my biggest crush completely ignoring me was heart breaking. My definition of heartbreak shifted massively when he died in his sleep ten years later at the premature age of 24.

With every big life experience, my happy/sad scale shifts, but that doesn’t mean I can ignore the three-day stints of deep melancholy that seem to creep up on me. They happen about once every few weeks in the Winter and once every month or two in the Summer. It’s almost like I can feel when they’re coming. I can fight them off for days but something always triggers a breakdown. Last week, it was my wonderful Google Hangout session with my girlfriends. I’d been sleepless, working a lot, and having some lonely days. Then I saw their smiling, beautiful, happy faces, and my self-pity just threw me over the edge.

So accepted it. I let myself be sad for 24 hours. I forgave myself for the 20 minute cry session and for being morose for a day. Every happy person has to come down from that plateau high up in the sky. Happiness takes work and sometimes you just need a break.

After the 24 hours passed, I put on my hiking boots and started the climb back up that plateau. I talked to a few of the people who love me unconditionally. First I cried to Mike but the poor guy can only take so much. When I felt that he needed a break from listening to my whining (because that’s what it was) I just called my family and spilled my heart to whoever picked up the phone first. By now they know what I need and they just listened to all the reasons my life was “terrible.”

CarWash

Then I spent the day slowly setting up activities for the weekend. First, to perk my mood, I drove my car through a car wash. Who doesn’t love to turn up the music and watch the water swirl around?? Then, that night, I had dinner with some bike girls in the area and got closer with one really cool chick. On Saturday Mike and I went on a lovely afternoon date and that night we went line dancing! (< more on this stuff later) On Sunday I went for Indian buffet with a few new friends from work. I was the only one who could pull myself out of the funk and, for me, I knew I just needed to be around other people.

So here I arrive at Monday, completely exhausted but in a MUCH better mood. I’m cresting the happy plateau today and hopefully I’ll be able to stay up here for a few weeks. Whatever the case I know I can’t possibly understand happy without a little sad πŸ™‚


Friendly Friday: Thank You Technology

Once upon a time there was a group of five girlfriends. They were all gnarly and raced bikes together. When they got off the bikes they would sit down for pizza and a beer and laugh for hours and hours. Then these girls graduated from college and spread across the country like lighting bolts, forever changing the points they touched down in. They spread to be teachers in Boston, medical students in North Carolina, nurses in Colorado, bike marketers and women’s activists in California, and holistic health advocates in Illinois.

Every so often, thanks to some sweet technology, they actually get to reunite and laugh together again. Check out Once a Month’s blog to see how easy it is to keep in touch. Reunite with the old and wonderful friends in your life.

Once a Month: Coming Together While Miles Apart

Screen Shot 2013-01-24 at 8.37.08 PM Screen Shot 2013-01-24 at 8.36.28 PM Screen Shot 2013-01-24 at 8.37.41 PM

My friends are amazing. This is going to happen much more often from now on. I love and miss them so incredibly much but they’re all doing so well in life. They brighten my day πŸ™‚


Happy Monday: Weird Love

Saturday was a VERY long day of work for me. Let’s just say I was surrounded by screaming kids in a room with lots of echo. For NINE hours. Teachers: how do you do it?? Anyway! It meant that Sunday involved a whole lot of nothing. Mike and I watched both NFL playoff games and some really terrible television (my favorite kind).

We also had some spare time to talk about our relationship. We do that every once in a while. Just dive into what we think we’re doing well or what is missing for one or both of us. Of course we talked about some stuff that has been a work in progress for the last several months. But we also talked about how close we feel to each other having had to adapt to in this foreign environment: small town in Midwestern USA.

Being here has only increased our love and respect for each other and confidence in our relationship. The way we are learning to work through our relationship and personal problems is pretty awesome.

On that note, Mike sent me this the other day and I think it’s wonderful. Maybe you will too!

WeirdLove


I hope that wherever the love comes from in your life, that you’re getting a lot of it today. Happy Monday! πŸ™‚


Friday DIY: Brazilian Wax (Ladies Only!)

Men (and conservative women), you are forewarned: this post contains A LOT of in depth lady jargon. It reveals the dark side of beauty. DO NOT READ THIS. STOP NOW.

If you’re still reading, be prepared. Now ladies, how many of you get waxed down there in your nether regions? How much does it cost you? $30, $40, maybe something like $80? First, let me explain why I wax:

  1. Shaving really sucks. I used to get terrible razor burn and razor stubble is just foul. I don’t want my VJ to feel like sandpaper.
  2. Waxing only needs to be done every 4 weeks, and once you’ve been doing it for several years, you can go as long as 8 weeks!
  3. It actually makes your hair follicles weaker and your hair thinner. I’m to the point where my hair has stopped growing in some spots. Awesome!

Yes, it hurts. But it’s so worth it. And because your hair follicles get weaker, the pain actually gets less the more you do it. One thing I should mention is that, once you start waxing, you should NEVER shave. It reverses all the long term benefits I mentioned above. If you shave once, it’s like starting from zero on the waxing scale.

When I moved from Boston to Peoria, the price of Brazilian waxing went from $40 to $80. WHAT?!? I’ve been searching for months for something cheaper to no avail. I did find a beauty school that did the simple bikini waxes (check out this post) but no one would take it all off without charging an arm and a leg. So I decided to do it myself.

Needless to say, I was VERY nervous. Who the heck takes the chance of buying their own wax, spreading it hot and sticky all over the very sensitive patch between their legs, and then ripping it off with their own two hands? I could be making a very big mistake. But I will say, I’d watched quite a few estheticians do it to me, might as well try and do it to myself right?

Moom

So I did my research on wax and found this great option on Amazon. Of course I had to go natural so I bought sugar wax. It’s water soluble and works great on thick and thin hair. It’s called Moom. It came with everything I needed to wax (except for the sweat-absorbing starch) including microwavable wax, reusable strips, and wooden applicator sticks. And the best part, it was only $14!

photo 1

So it arrived and I stared at it on my dresser for several weeks before I plucked up the courage to try it. I set up my little station and went to work. The only things I needed that weren’t included were a towel to sit on, a mirror for when hunching over wasn’t enough, rubbing alcohol to disinfect, starch to soak up the moisture before I got started, and tweezers for post-wax clean up. Here’s how it goes:

  1. Use a cotton ball to spread rubbing alcohol over the region first.
  2. Dab some baby powder, corn starch, or any kind of starch (I used tapioca because that’s all I had) before you get started. It soaks up any moisture and the wax sticks better.
  3. Trim your hair down to 1/2″ (1cm) so the wax can pick up more of it.
  4. Heat up the wax until it’s a honey-like consistency.
  5. Analyze the direction your hair is growing in. Spread the wax in a thin layer in the same direction.
  6. Pull your skin taut and pull the strip off very fast in the opposite direction of hair growth.
  7. For a bit of relief, put pressure on the area immediately after you pull the strip off.
  8. Work methodically in sections so you don’t have to wax any area more than once.
  9. You won’t get every single hair so use the tweezers to snag stragglers.
  10. Rinse off any patches of wax with warm water. Dab dry then apply a light moisturizer to soothe the skin.

photo 2

I did feel a bit like a hunchback after 45 minutes of sitting in front of the mirror but it went really well! I didn’t rip off any skin and my happy triangle is smooth and clean. The tub of wax isn’t even 1/3 gone and I rinsed the strips clean with hot water and can use them again next time. It was a MUCH better experience than I anticipated and I’m so stoked that I found a cheap alternative to salons.

Who wants to try it? Ask me any questions, I’m happy to answer. I hope you all have very wonderful, very sexy weekends πŸ˜‰

Workout Wednesday: Lofty But Attainable Goals

Do you have a weight loss goal right now? Most people, especially in this season, want to get more fit. What’s your goal? At work we are doing a 30 day weight loss challenge. Last night we did the first weigh-ins. For four weeks we challenge everyone to eat right at least six days a week and exercise at least three days a week. So I challenge you, if you have a goal, do the same thing!

If your goal is fat loss, get naked and get on the scale. If your goal is more lean muscle, find a flexible tape measure or piece of string and measure around the largest part of your stomach, arm, and leg. Then record the numbers. Somewhere that you won’t lose or forget.

ThenΒ start the baby steps. Plan your meals and your workouts. Don’t give yourself an option to deviate. Workout in the mornings before you start your day, and remove all sugary, bad-fatty foods from your house. No temptations. Don’t go out to eat if you can’t resist the hamburger and fries. It’s only four weeks! Challenge yourself. Be proud of every day you can get through in a completely healthy way. I think a person’s successΒ is defined by the ambition of the commitments they can keep. So make your goal lofty but reachable, and then go get it!

measuring

I’ve been slacking off for the past 6 weeks. With the holidays and everything, it’s time for me to get back into it and start some serious training. Bike season is coming up! So I’m going to join the Challenge. But for me, it’s going to be a lean muscle challenge. So I used a tape measure and piece of rope. My measurements are: 32.5″ (stomach), 12″ (right arm), 24.5″ (right leg). I’ll let you know how I’m looking in 4 weeks!

Finally, here’s today’s workout:

Beginner through intermediateΒ (12 minutes)

– 20 seconds on/ 20 seconds off

– each exercise 3 times in a row

AdvancedΒ (16 minutes)

– 30 seconds on/ 10 seconds off

– each exercise 4 times in a row

Exercises:

High Knees

1) high knees – speed is most important with this one.

plank(better)

2) X plank – start in straight plank…if you can, jump out your legs then step out your arms to form an “X”, move them all back in and start again. Don’t forget to keep your body straight as a plank!

jumplunge

3) jump lunges – align your joints ALWAYS, shoulders over hips, front knee over toes.

crunches

4) crunches – look at the ceiling and lift your shoulders. DO NOT pull on your neck.

calfjump

5) calf jumps – fluid jumping, very little bend in the knee. like you’re at a concert without any space. ps. the girl in this photo is ripped! So awesome.

wallsit

6) wall sits – quads parallel to the ground. If it’s too easy for you, Keep your legs touching each other. Still too easy? Raise one foot off the ground, switch at the halfway point.

So what’s your goal and how will you do it?

πŸ™‚


Monday Mayhem: Cyclocross Nationals

Gooooooood Morning! This weekend was Mike’s birthday. We decided to drive three hours up to Madison, Wisconsin to see some friends race and check out the city. What an awesome 48 hours it was.

IMG_0879

Mike’s best friend, Kevin, decided to make the 5 hour trek from Cincinnati, Ohio to surprise Mike and spend the weekend with us. I have never seen Mike genuinely surprised and it was so wonderful. After a few awkward moments of, “What the heck are you doing here??” They were both so happy. The sarcasm and inside jokes started immediately and lasted all weekend. Luckily I know them both well enough that I could be included.

Madison is a really great city. I wasn’t expecting to like it as much as I did. Wisconsin University has 42,000 students. In a city of 250,000 residents, they have a huge impact on the fabric of the city. Their downtown is full of hippie dippie restaurants and shops and we all felt right at home πŸ™‚ On top of that, I love the urban design and architecture of Madison and would love to spend some real time there.

IMG_0889 IMG_0888

After we woke Mike up with Happy Birthday and cupcakes, we spent all day Saturday watching Cyclocross bike races. They are a combination between road racing and mountain bike racing. Basically racing in parks and on hills and through mud and over obstacles. Unfortunately, Wisconsin in January is very wet and very cold. The mud was about 6″ deep and it was 20Β°F. Mike, Kevin, and I were SO happy to be spectators instead of racers. We got to watch our friend, Katy race. She’s incredibly strong and came in 6th! Not bad for collegiate nationals!

IMG_0884

IMG_0891

We also got to spend some time in the indoor pool and jacuzzi and our hotel. It came in very handy when our hands and feet were completely frozen. Can you imagine how the racers felt??

IMG_0881

IMG_0892

Some awesome businesses we visited in Madison: The Great Dane Pub and The Old Fashioned Restaurants (cheese curds with garlic sauce and grass-fed beef burger, YUM)

All in all it was a fantastic weekend. Mike’s birthday was a success. We were all reminded how awesome bike racing is and are starting to get excited about the upcoming road racing season. I also, thankfully, remembered that there is life outside of Peoria and that I have friends! Haha. I’m struggling a bit here but looking forward to being able to plan some of our future over the next couple months.

Friday Design: Make Your Own (Awesome) Belt!

Do you have a favorite belt? That piece of leather and buckle that is worn, soft, and molded perfectly to your body? Me too. I had it for 10 years. It was falling apart for 3 of those years. I bought it curved. Ladies, you know what I’m talking about. The curved belt means that you never have the flap at the back of your pants that lets everyone see your crack! It was amazing. I got it at Gap and they nor anyone else ever carried it again. What to do, what to do? Finally I decided to make my own! Duh.

I quickly found out from the leathersmith that cutting it out curved would be $300+. No fricken way. So I visited a leather supplier in town (who even knew they had those??) and they suggested that I buy a raw leather belt, soak it in water, and curve it myself. Then I could dye it and add whatever buckle I wanted. Sweet! So I bought two lengths of leather (if I’m going to do it I might as well do two) and two sets of dye (brown and black). The guy there was super cool and he let me use all the tools in the shop to punch holes and cut them to the right length.

Then brought them home and started the very long and involved process of curving, dying, and finally installing the buckle.

photo 1<Β First I cut all the holes and shaved down the area that would fold around the buckle so it wouldn’t be fat and catch on my pants. Yes that bandaid is from that Exacto.

photo 2<Β Then I soaked the belt and let it dry around the upper part of a fitness ball. This gave it the curve. After it dried the side walls of the belt were also curved from the ball. I rewet it and laid it flat on the floor. I kept the curve but flattened the sidewalls by letting it dry with heavy books on top of it. You can rewet and remold as many time as you want!

photo 3^Β Then began the dying process. I had to remove the buckle again for a blank canvas. Then I left the belts on our coffee table for several weeks and just applied a coat of dye once every few nights. I stopped when it wouldn’t soak up anymore. Once the color was done. I started on the matte top coat.

photo 4<Β The state of our coffee table for a month. Then I mounted the buckle. Took it back to the shop for a final trim of length and …

photo 1 copyΒ Voila!Β This belt buckle was repurposed from a belt I got in Spain when I was 13. The leather was falling apart so I just cut it off and put it on my new one!

photo 2 copyΒ ^ After only a few times wearing it, this one is showing some usage. I love it!

photo 3 copy<Β And no matter how hard you look, you can’t see my crack!

I loved this whole process. It was so cool to see it transform into something pretty. And it was SO easy! Now I’m thinking of bigger and better things. I do love my leather purses…

I hope you all have adventurous weekends πŸ™‚

Tasty Tuesday: Sushi Night!

With the holidays and all the other things I have to say, I haven’t posted a recipe in a few weeks. I’m going to bring back the routine with a very easy and very fun recipe you can do with two people or 7 people. Make Your Own Sushi! For Christmas, my siblings and I decided to give my parents something they don’t get very often: all of us together. So we wracked our brains to think of how we could do a cheap, healthy meal and instead of going to a crappy restaurant, we cooked for ourselves!

There is a little hardware involved in this one ($2 bamboo mats you get at the grocery store) but people can share so you don’t need many. The prep is SUPER easy and the dinner making part is really fun. Just try it why don’t you!

photo 3 copy photo 4 copy^ Prep everything in slivers.photo 1 copy<Β Lay it all out.photo 5 photo 1photo 2^ Roll your sushi!photo 3photo 4^ My brother had the great idea of taking a roll to work the next day πŸ™‚photo 2 copy^ Isn’t my family beautiful. Gosh I miss them so much, this photo makes me want to cry. Blehhhhh.

Supplies:

  • plastic wrap
  • bamboo mats, 1 per 2 people – $2 at your grocery store

Ingredients (can really be anything you want but this is what we used):

  • short grain rice (brown if you can find it)
  • rice vinegar (or red wine vinegar if you don’t have it)
  • Nori seaweed paper
  • carrots
  • avocado
  • cucumber
  • crab (sushi grade)
  • salmon (sushi grade)
  • mango

Instructions:

1. Prep the rice – sushi rice is prepared in a very particular way.

  • Pour the rice into a bowl and cover with clean water. Slosh the rice around with your hand for 15 seconds then drain it. Repeat several times until the water coming out is pretty much clear.
  • Add rice and more clean water to a pot at slightly more than a 1:1 ratio.
  • Cooking on high heat, stirring every couple of minutes, until the water boils. Lower heat and cover for 6-8 minutes, stop when the water is absorbed. No need to stir.
  • Remove the rice with a wooden spoon so as not to damage it. Also, don’t scrape it off the bottom of the pot, just use what comes out easily.
  • For every 3 cups of rice, add 1/2 cup rice vinegar. Stir it together and you’re done!

2. Cut the fillings into long, thin slivers.

3. Lay it all out on the table and let everyone go to work!

  • Our photos are clearly the work of amateurs. Just check out this link for the best instructions I found on the internet. Sushi rolling takes some serious technique so it’s really funny trying to do it. But everything tastes delicious no matter what it looks like and, eventually, you get the hang of it…on the last roll. Haha.

And that’s all! And when I say “that’s all,” I mean this meal is an adventure. It’s so much more fun than going out to eat though, and so much cheaper!

Has anyone else ever done this? How did it go?Β Much love everyone. I hope you all have happy Tuesdays πŸ™‚