Last night’s class was awesome. We had our largest number of people there (20!) because patients are starting to bring along their friends and family. The room was full to overflowing and the energy in there was incredible. It made me realize…while working out, there is power in numbers.
If you can find two or three people who are as committed to health as you are, workout with them! Not everyone has to be available for all workouts but if you can find a couple people to help motivate you when your will power is all dried up, it’s like having extra ammo in the tank. You’ll see better results and develop stronger, healthier relationships. Encouragement is not something that needs to come only from yourself.
So, without any further ado, here’s today’s workout:
Beginner through intermediate (12 minutes)
– 20 seconds on/ 20 seconds off
– each exercise 3 times in a row
Advanced (16 minutes)
– 30 seconds on/ 10 seconds off
– each exercise 4 times in a row
Tip: As always, you’re the only one who can make this exercise hard. It’s only 12/16 minutes so just grin and bear it, push yourself to fatigue, it will all be over soon.
Exercises
 < beginner
 < advanced
1) toe taps
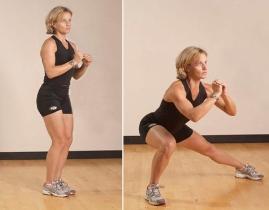
2) side lunge

3) tri dips (advanced- keep legs straight)


4) low jacks (jumping jacks with bent legs)
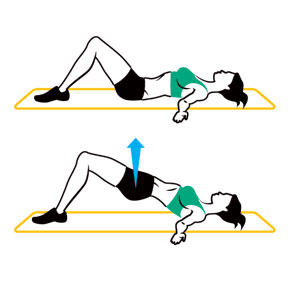
5) hip raise

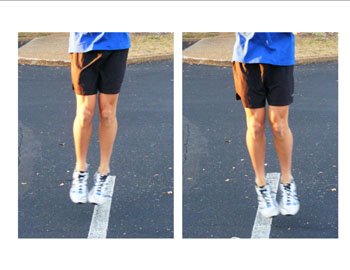
6) calf jumps
Are you sweating yet? Let me know how it goes 🙂